
Magento 2 launched in November 2015 to remark a new era of ecommerce innovation with enhanced performance and new advanced features to increase conversion rates and grow business. Its versions have been upgraded to bring users the best services as well as new functions to serve customer needs.
As you know, on 31st March 2016, Magento released the 2.0.4 version with additional several security issues besides multiple function fixes and enhancement performance in Magento 2.0.2 CE version. Moreover, Magento 2.0.4 also includes the sample data, customer registration, and other common storefront data. Therefore, in this tutorial, we will introduce the way to upgrade Magento 2.0.2 to Magento 2.0.4 version to help you update the newest features.
Step 1: Install Node JS for server
Table of Contents
Node JS is a platform built based on JavaScript V8 Engines that allows users to develop server-side Web applications easily. There are a lot of methods to install node JS for the server, but the most popular one that a lot of people are using is Install Node from the EPEL Repository
To gain access to the EPEL repo, you have to modify the repo-list of your installation. We can reconfigure access to this repository by installing a package available in our current repos called epel-release:
sudo yum install epel-release
After you have access to the EPEL repository, you can install Node.js by using your regular yum commands:
sudo yum install nodejs
Once again, you can check that the installation was successful by asking Node to return its version number:
node –version
v0.10.30
Many people will also want access to npm to manage their Node packages. You can also get this from EPEL by typing:
sudo yum install npm
Step 2: Installing the composer
The composer is a PHP dependency manager. To install it globally, follow the steps below.
– Firstly, go to the /tmp directory by running: cd /tmp
– Secondly, download the composer.phar file:
curl -sS https://getcomposer.org/installer | PHP
– Thirdly, move it to /usr/local/bin/
mv composer.phar /usr/local/bin/composer
– Finally, you can use the command composer
Step 3
Please back up vendor directory then delete all folders and files in the folder directory by using the following command:
Rm –rf vendor/*
Step 4: Check composer.json file in the root Magento directory
You find
“require”:{
Then you check if these code snippets exist here:
"magento/module-bundle-sample-data": "100.0.*",

"magento/module-theme-sample-data": "100.0.*",

"magento/module-widget-sample-data": "100.0.*",

"magento/module-catalog-sample-data": "100.0.*",

"magento/module-customer-sample-data": "100.0.*",

"magento/module-cms-sample-data": "100.0.*",

"magento/module-catalog-rule-sample-data": "100.0.*",

"magento/module-sales-rule-sample-data": "100.0.*",

"magento/module-review-sample-data": "100.0.*",

"magento/module-tax-sample-data": "100.0.*",

…….
These code snippets are used to update our sample data and database. Therefore, we need to remove code snippets that include sample-data inside.
If there are not any changes, the code snippet “require”: { takes the following form:
“require”: {
“magento/product-community-edition”: “2.0.2”,
“composer/composer”: “@alpha”,
},
Step 5: Change the version
At this step, you will change Magento 2.0.2 version to Magento 2.0.4 version.
Change “version”: “2.0.2” into “version”: “2.0.4”,
+ 2.0.2 is the current version
+ 2.0.4 is the newest version
The changes in “require”:
You change:
“magento/product-community-edition”: “2.0.2”,
Into:
“magento/product-community-edition”: “2.0.4“,
Step 6: After finishing these above steps, we begin to upgrade
You type the command: composer update
This command will download core from Magento to update for our Magento version through composer.json file.
Please note that when you run this command, you are required for user and pass, and the user and pass are rendered by our account on Magento Connect.
To do it, you follow the below instructions:
– Log in Magento
– Click to “Connect” tab and then choose “Security keys”
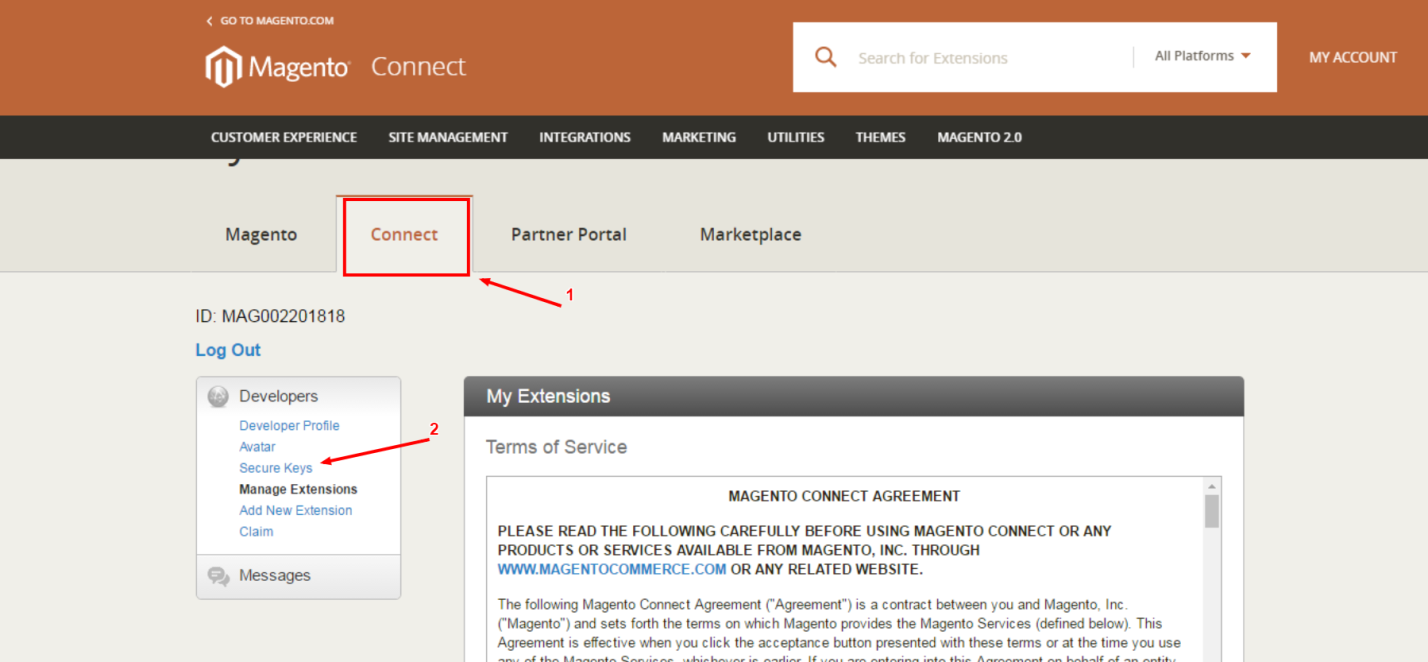
After clicking Security keys, the interface is shown as below:
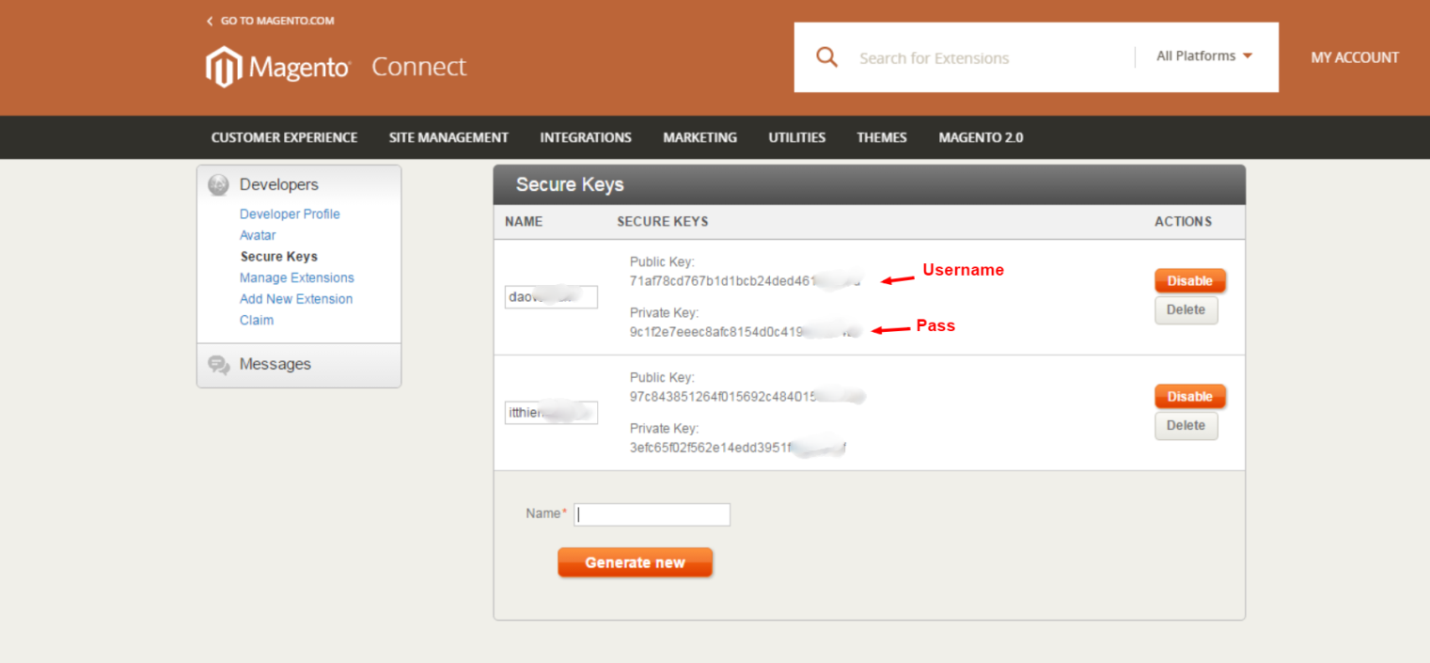
If you haven’t yet had a username and pass, you should generate a new key with any names. Then you enter the name into Name box (the last part) and click “Generate new” to create a new key. The public key is username and privatekey is password
Step 7: Upgrade database from new core code
After running the command “composer” to update code core again, you run the command “upgrade” to upgrade the database from new code core:
Php bin/Magento setup:upgrade
Step 8
After running the command “upgrade,” you continue to use the following command:
php bin/Magento setup:static-content:deploy de_DE en_US
de_DE en_US is the local that we want to deploy. If you do not enter these two values, the above command will deploy all locals our site owns.
Step 9: Remove var/cache
After finishing all of nine steps, your Magento 2.0.2 version will be upgraded to Magento 2.0.4 successfully, and you can enjoy your result with new additional features of the latest version of Magento.
Do you find our today tutorial useful? Let’s Like, Share and Subscribe for more new knowledge
We are a team including talented and professional developer about Web Development and Magento Extensions, and we are always willing to support you. Feel free to contact us every time!
References: digitalocean.com, codybonney.com