
Have you ever questioned how far you can customize and create admin menu in Magento 2?
Adjacent to default settings, users must have expected the eCommerce platform to accommodate their preferences even on niche details. The prevailing platform that won the game should be the one with the highest customization to target a large range of contrasting usage purposes. Magento genuinely understands that and gives many rooms to tailor the admin menu.
Let’s get into the steps to find out how to create a new admin menu in Magento 2.
How to Create Admin Menu in Magento 2: Step-by-Step Guide
Table of Contents
Step 1: Register the module. Create the file registration.php
Path: app/code/Bss/CreateMenuBackend/registration.php
<?php
\Magento\Framework\Component\ComponentRegistrar::register(
   \Magento\Framework\Component\ComponentRegistrar::MODULE,
   'Bss_CreateMenuBackend',
   __DIR__
);
Step 2: Configure module. Create file module.xml
Path: app/code/Bss/CreateMenuBackend/etc/module.xml
<?xml version="1.0"?>
<config xmlns:xsi="http://www.w3.org/2001/XMLSchema-instance" xsi:noNamespaceSchemaLocation="urn:magento:framework:Module/etc/module.xsd">
   <module name="Bss_CreateMenuBackend" setup_version="1.0.0">
   </module>
</config>
Path: app/code/Bss/CreateMenuBackend/etc/adminhtml/menu.xml
– Below is a sample of main menu, set name as: “Bss Menu”.
<?xml version="1.0"?>
<config xmlns:xsi="http://www.w3.org/2001/XMLSchema-instance" xsi:noNamespaceSchemaLocation="urn:magento:module:Magento_Backend:etc/menu.xsd">
   <menu>
       <add id="Bss_CreateMenuBackend::menu"
           title="Bss Menu" module="Bss_CreateMenuBackend"
           sortOrder="10"
           resource="Magento_Backend::content"
           />
   </menu>
</config>
Attributes:
- Id: Specify the identifier of the menu. It should be unique and comply with the format: [Namespace_ModuleName]::[menu_name].
- Title: Display title in the menu in the backend
- Module: Name of the module, formatted as: [Namespace_ModuleName].
- SortOrder: Set priority of the module in the menu, smaller value receives a higher display position. The module receives the value “0” and can be added with an icon.
- Resource: Create ACL rule to set admin users who can see and access the created menu
– Enter the following commands in the root file of Magento:
1: php bin/magento module:enable Bss_DemoMenu
2: php bin/magento setup:upgrade
3: php bin/magento setup:static-content:deploy -f
4: php bin/magento cache:flush
It turns out a main menu Bss Menu at the left navigation – Admin Menu
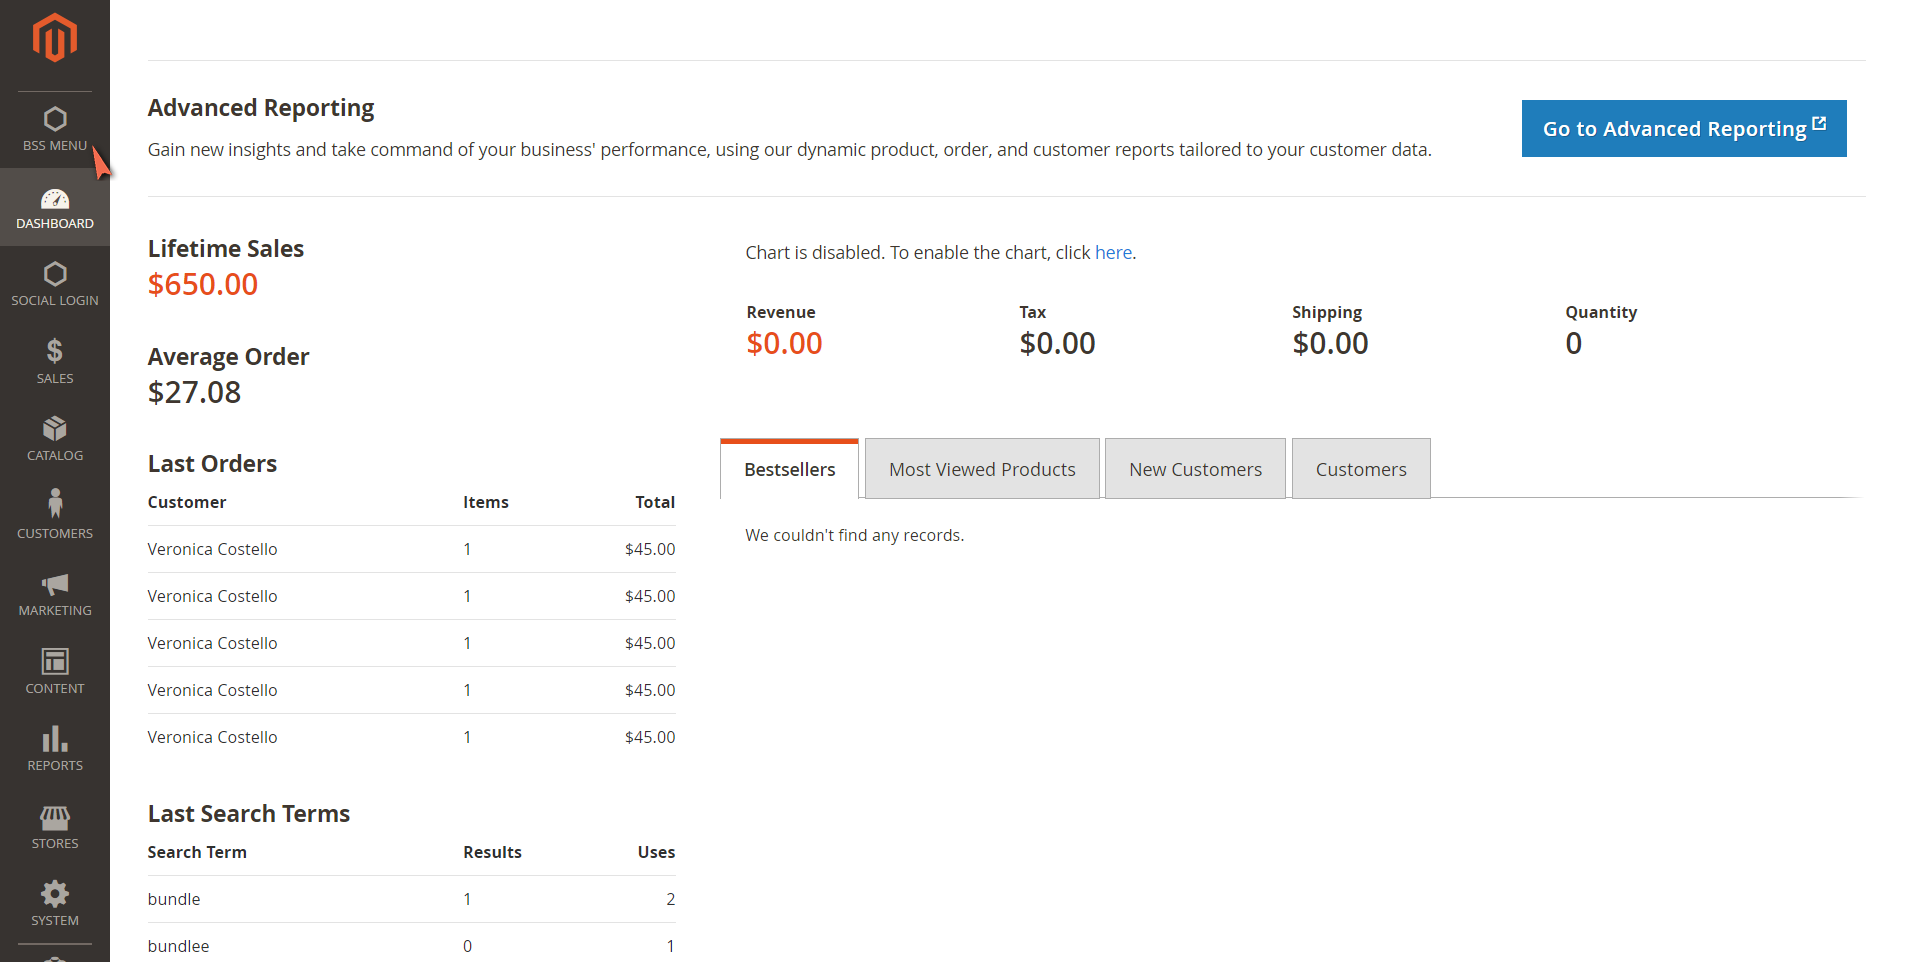
Successful created new admin menu
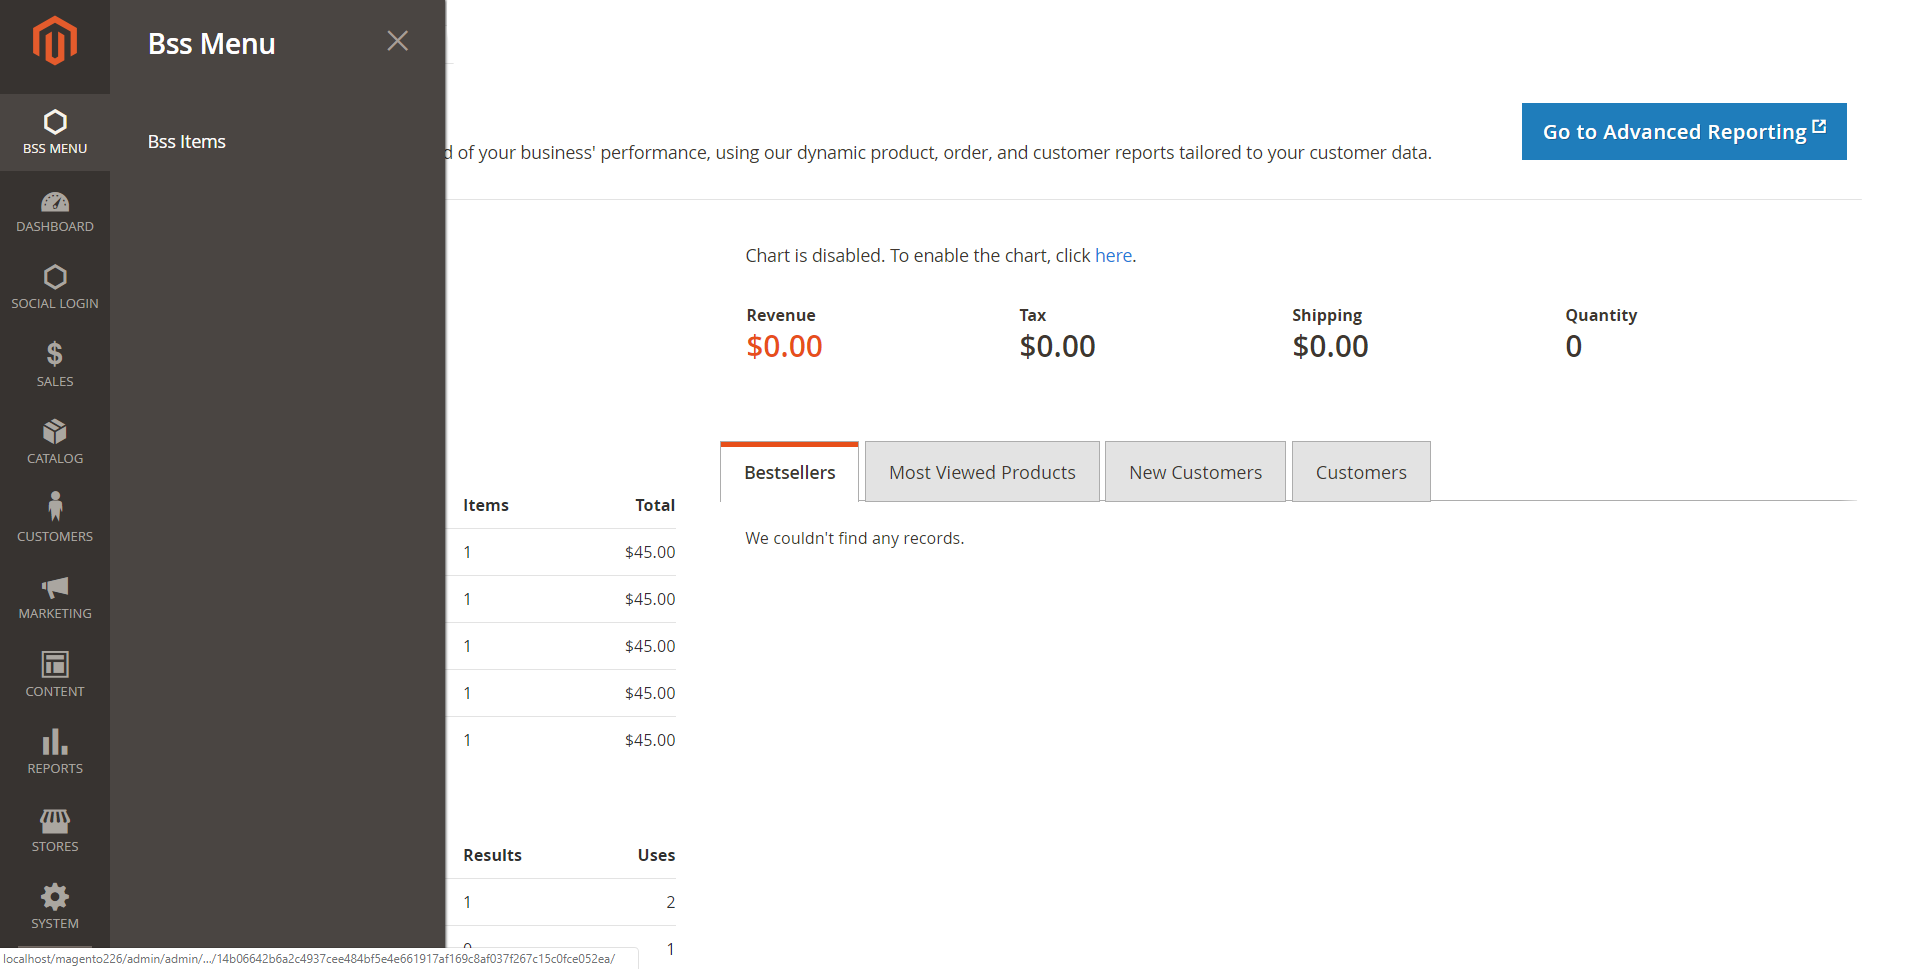
– Create a new sub-menu in the main menu. Set Bss Items as its name.
<?xml version="1.0"?>
<config xmlns:xsi="http://www.w3.org/2001/XMLSchema-instance" xsi:noNamespaceSchemaLocation="urn:magento:module:Magento_Backend:etc/menu.xsd">
   <menu>
       <add id="Bss_CreateMenuBackend::menu"
           title="Bss Menu" module="Bss_CreateMenuBackend"
           sortOrder="10"
           resource="Magento_Backend::content"
           />
       <!-- START: new node -->
       <add id="Bss_CreateMenuBackend::menu_item"
           title="Bss Items" module="Bss_CreateMenuBackend"
           sortOrder="10" parent="Bss_CreateMenuBackend::menu"
           action="createmenubackend/create/index"
           resource="Bss_CreateMenuBackend::menu_item"
           />
       <!-- END:   new node -->
   </menu>
</config>
Attributes in sub-menu:
- Parent: Value is the ID of the main menu. It specifies the sub menu belongs to parentory menu.
- Action: Direct URL if clicking on the menu, as format [router_name]/[controller_name]/[action_name]. – In our example, the menu links with module BSS, controller Create and action Index.
Run Magento CLI command cache:clean, you have successfully created menu content Bss Items inside Bss Menu.
Step 4: Create file routes.xml
Path: app/code/Bss/CreateMenuBackend/etc/adminhtml/routes.xml
<?xml version="1.0"?>
<config xmlns:xsi="http://www.w3.org/2001/XMLSchema-instance" xsi:noNamespaceSchemaLocation="urn:magento:framework:App/etc/routes.xsd">
<router id="admin">
<route id="createmenubackend" frontName="createmenubackend">
<module name="Bss_CreateMenuBackend"/>
</route>
</router>
</config>
Path: app/code/Bss/CreateMenuBackend/Controller/Adminhtml/Create/Index.php
<?php
namespace Bss\CreateMenuBackend\Controller\Adminhtml\Create;
class Index extends \Magento\Backend\App\Action
{
         protected $resultPageFactory = false;
         public function __construct(
                 \Magento\Backend\App\Action\Context $context,
                 \Magento\Framework\View\Result\PageFactory $resultPageFactory
         ) {
                 parent::__construct($context);
                 $this->resultPageFactory = $resultPageFactory;
         }
         public function execute()
         {
                 $resultPage = $this->resultPageFactory->create();
                 $resultPage->setActiveMenu('Bss_CreateMenuBackend::menu');
                 $resultPage->getConfig()->getTitle()->prepend(__('Demo Menu'));
                 return $resultPage;
         }
         protected function _isAllowed()
         {
                 return $this->_authorization->isAllowed('Bss_CreateMenuBackend::menu');
         }
}
Step 6: Determine the interface of the page
Define layout and page structure. Create file createmenubackend_create_index
Path: app/code/Bss/CreateMenuBackend/view/adminhtml/layout/createmenubackend_create_index.xml
<?xml version="1.0"?>
<page xmlns:xsi="http://www.w3.org/2001/XMLSchema-instance" xsi:noNamespaceSchemaLocation="urn:magento:framework:View/Layout/etc/page_configuration.xsd">
   <body>
       <referenceContainer name="content">
               <block class="Magento\Backend\Block\Template" template="Bss_CreateMenuBackend::helloworld.phtml"/>
       </referenceContainer>
   </body>
</page>
Set up page content. Create file helloworld.phtm
Path: app/code/Bss/CreateMenuBackend/view/adminhtml/templates/helloworld.phtml
<p>Hello World</p>
Step 7: Install module
Run command in root file of Magento:
php bin/magento setup:upgrade
php bin/magento setup:static-content:deploy -f
php bin/magento cache:flush
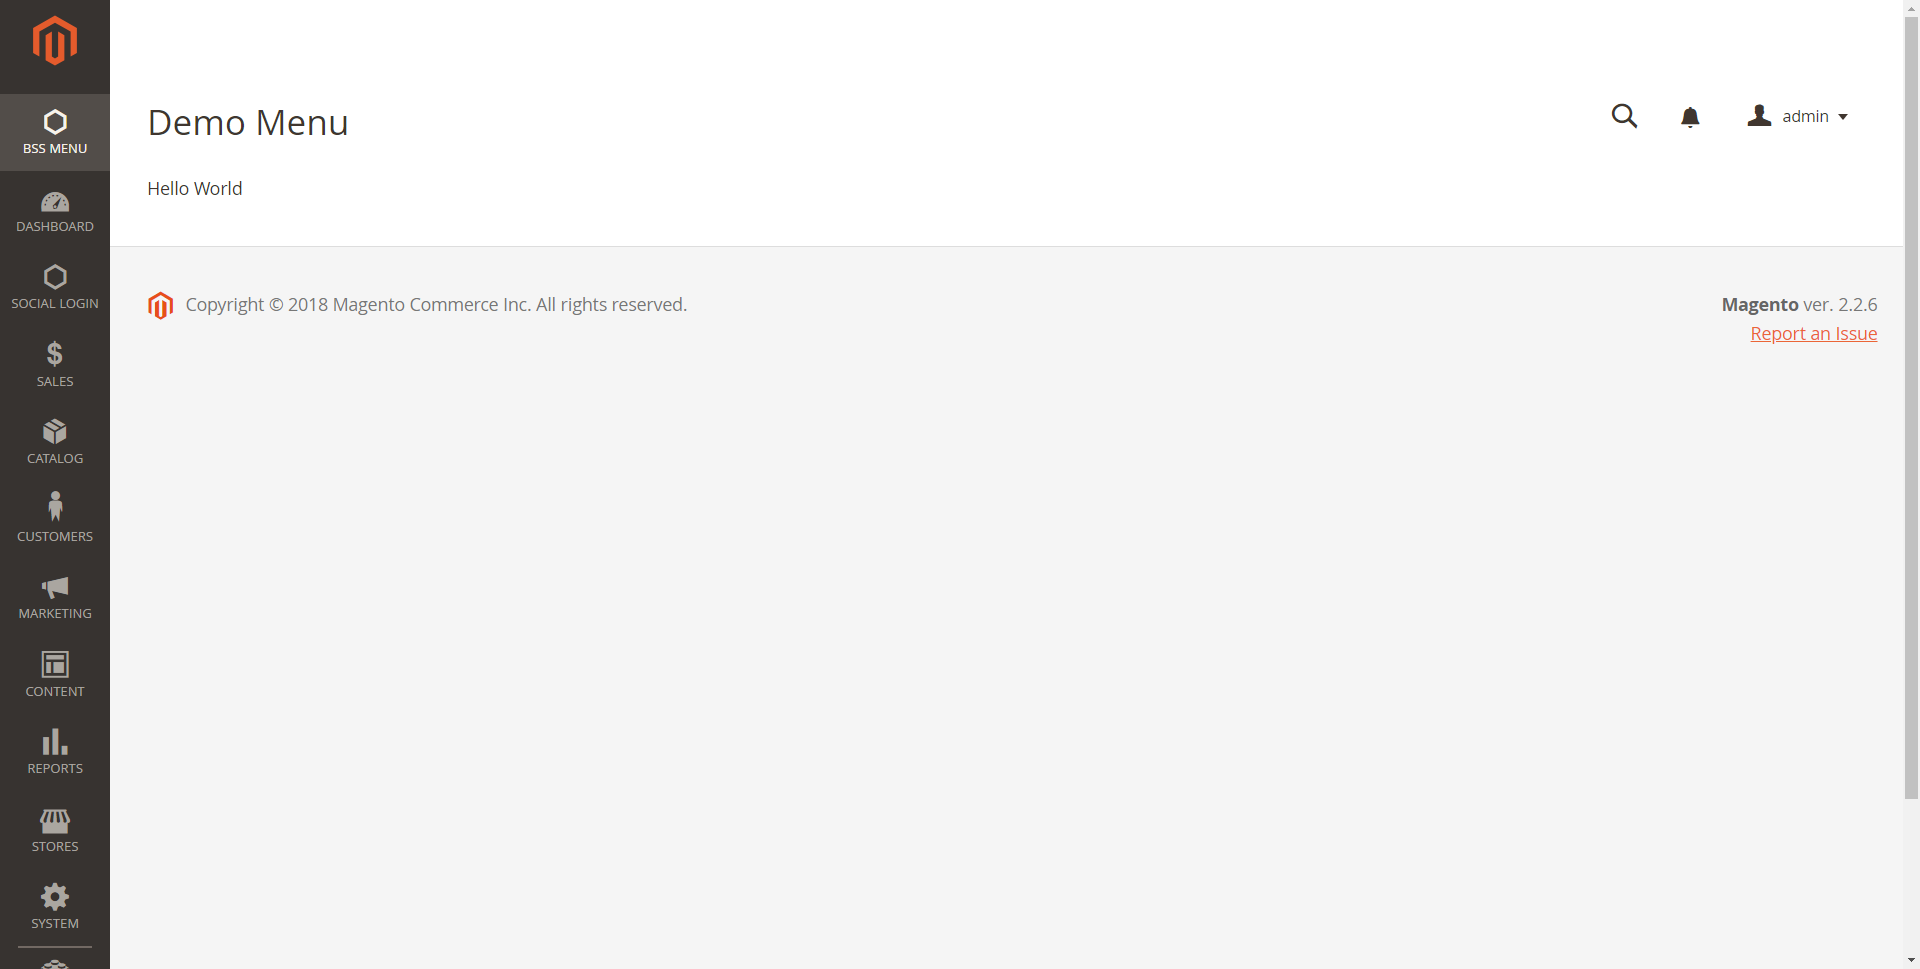
This is the outcome when clicking to sub-menu Bss Items:
Get this module on Github: https://github.com/BssGroup/magento2-create-menu-backend/
>>> IF you still struggling with the tutorial above, please CHECK our Magento extensions Store to find out the TOPMOST solution!
Final thought
Creating an admin menu in Magento 2 enhances the backend experience, providing easy access to custom modules and functionality. In this article, BSS Commerce shows you steps to find out how to create a new module that displays a simple page in the Magento admin. By following the steps outlined, developers can efficiently create admin menu in Magento 2, add new menu items, streamline navigation, and improve admin workflow.
CONTACT NOW to let us know your problems. We are willing to support you every time.