Nowadays, users expect the pages they visit will be interactive and smooth. Not only should your pages load quickly, but also run well. Scrolling should be stick-to-finger fast, and animations and interactions should be silky smooth.
Thus, you must focus your time and effort on optimizing Magento rendering performance.
And in this blog, we will show you how to do that.
Note: This article is the third part of the Magento Frontend Website Performance series.
You can READ MORE about Basic Knowledge and Fast Loading.
Basic Knowledge About Rendering Performance
First of all, you need to understand how browsers handle HTML, JavaScript and CSS to ensure that your code and other 3rd party code you include runs as efficiently as possible.
Device refresh rates
Most devices today refresh their screens 60 times a second. And there are some high-end devices that refresh their screens 90 or 120 times a second.
If the user is scrolling the pages or there’s an animation or transition running, the browser needs to match the refresh rate and put up one new picture/frame for each of those screen refreshes.
Each frame has a budget of just over 16ms (1 second / 60 = 16.66ms). However, in reality, the browser has other additional work to do, so all of your work needs to be completed under 10ms. When you fail to meet the budget, the frame rate will drop, and the content will judder on screen, which negatively impacts the user’s experience.
The pixel pipeline
There are 5 major areas that you need to be mindful of, and you have the most control over. They are also 5 key points in the pixels-to-screen pipeline:
![]()
- JavaScript. JavaScript is typically used to handle work that will result in visual changes. Other than JavaScript, there are some other common uses like CSS Animations, Transitions, Web Animations API.
- Style calculations. Style calculations is the process of figuring out which CSS rules apply to which elements based on matching selectors.
- Layout. After doing style calculations, the browser can begin to measure how much space it takes up and where it is on screen.
- Paint. This is the process of filling in pixels. It involves drawing out every visual part of the elements, such as text, images, colors, borders, and shadows.
- Compositing. Because the parts of the page were drawn into potentially multiple layers, they need to be drawn in the correct order so that the page renders correctly.
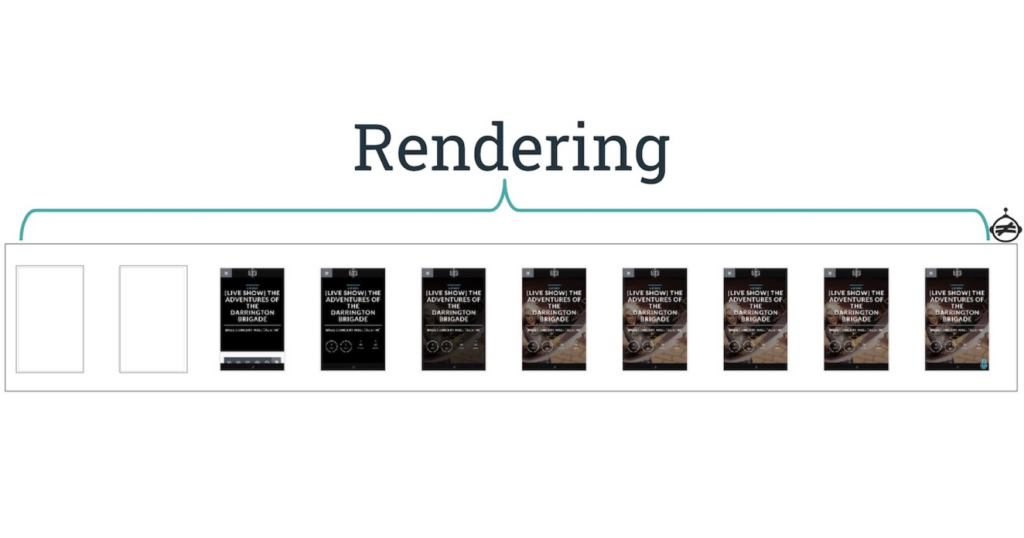
You don’t always have to touch every part of the pipeline on every frame. In fact, there are 3 ways the pipeline normally plays out for a given frame when you make a visual change:
- JS / CSS > Style > Layout > Paint > Composite
![]()
If you change a “layout” property that changes an element’s geometry or position, the browser will have to check all other elements and “reflow” the page. Any affected areas will need to be painted again, and the final painted elements will need to be composited back together.
- JS / CSS > Style > Paint > Composite
![]()
If you change a “paint only” property (background image, text color, shadows, etc.) that does not affect the layout of the page, the browser will skip layout, but it will still do paint.
- JS / CSS > Style > Composite
![]()
If you change a property that doesn’t require layout nor paint, the browser will jump to just do compositing.
Full Guide On Optimize Rendering Performance
Note: This guide requires strong coding skills to follow. If you cannot do it yourself, we highly recommend you hire
Want a Magento rendering performance audit from experts? CHECK OUT NOW the best Magento 2 Speed Optimization Service!
Optimize JavaScript execution

Long-running or badly-timed JavaScript is a common cause of rendering performance issues. You should minimize its impact as much as possible.
There are some things you can do to optimize JavaScript execute:
- Avoid using setInterval or setTimeout for visual updates, instead use requestAnimationFrame.
- Use micro-tasks to make DOM changes over several frames.
- Move long-running JavaScript to Web Workers.
- Use DevTools’ Timeline and JavaScript Profiler to determine the impact of JavaScript.
Use requestAnimationFrame
When visual changes, you want to do your work right at the start of the frame. And using requestAnimationFrame is the only way to guarantee that your JavaScript will run at the start of a frame.
/**
 * If run as a requestAnimationFrame callback, this will be run at the start of the frame.
 */
function updateScreen(time) {
  // Make visual updates here.
}

requestAnimationFrame(updateScreen);
Reduce complexity or use Web Workers
JavaScript runs on the browser’s main thread along with style calculations, layout, paint. If your JavaScript takes a long time to run, it will block other tasks, potentially causing frames to be missed.
You can move pure computational work to Web Workers, if it doesn’t require DOM access.
var dataSortWorker = new Worker("sort-worker.js");
dataSortWorker.postMesssage(dataToSort);

// The main thread is now free and can continue working on other things...
dataSortWorker.addEventListener('message', function(evt) {
   var sortedData = evt.data;
   // Update data on screen...
});
Know your JavaScript’s “frame tax”
When assessing a framework, library, or your code, it’s important to determine how much it costs to run the JavaScript on a frame-by-frame basis.
The Performance panel of DevTools is the best way to measure your JavaScript’s cost.
Below is the example of a low-level records that you usually get:
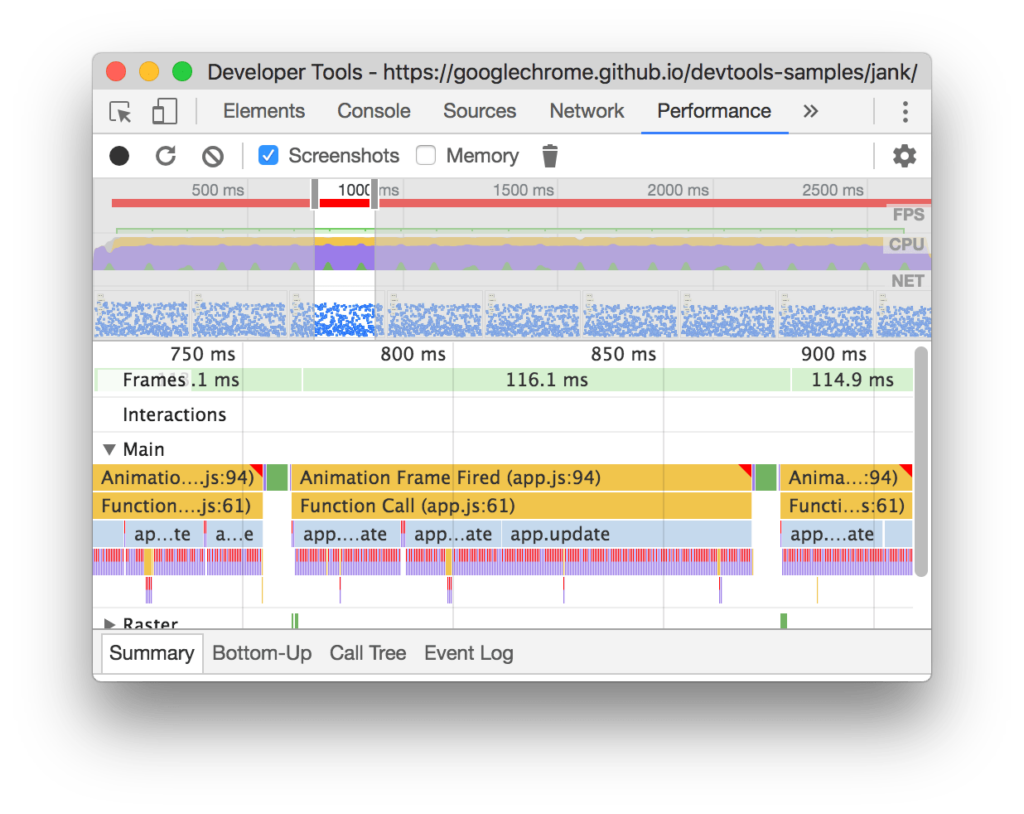
The Main section shows a flame chart of JavaScript calls to help you analyze exactly which functions were called and how long each function took.
With this information, you can determine the performance impact of the JavaScript, and begin to find and fix any issues where functions are taking too long to execute.
Reduce the scope and complexity of style calculations
Reduce the complexity of your selectors
In the simplest case, in your CSS, you reference an element with just a class:
.title {
  /* styles */
}
However, as any project grows, it will likely result in more complex CSS that look like this:
.box:nth-last-child(-n+1) .title {
  /* styles */
}
You should instead change the intended behavior of the selector could to a class:
.final-box-title {
  /* styles */
}
Reduce the number of elements being styled
Another performance consideration is the sheer volume of work that needs to be carried out when an element changes.
The worst-case cost of calculating the element style is the number of elements multiplied by the selector count, since each element needs to be checked at least once against every style to see if it matches.
In modern browsers it tends to be less of an issue, because the browser doesn’t need to check all elements potentially affected by a change. On the other hand, older browsers aren’t optimized for such tasks. Thus, you should reduce the number of invalidated elements if possible.
Avoid large, complex layouts and layout thrashing
Similarly to style calculations, the concerns for layout cost are:
- The number of elements that require layout.
- The complexity of those layouts.
Avoid layout wherever possible
Normally, layout is scoped to the whole document. And the number of DOM elements will affect rendering performance, thus you should avoid triggering layout wherever possible.
Use flexbox over older layout models
The web has many layout models, some are more widely supported than others. The oldest CSS layout model allows us to position elements on screen relatively, absolutely, and by floating elements.
Avoid forced synchronous layouts
As we mention above, shipping a frame to screen has this order:
![]()
The JavaScript runs first, then style calculations, then layout. However, it’s possible to force the browser to perform layout earlier with JavaScript. It is called a forced synchronous layout.
For example, if you want to write out the height of an element at the start of the frame, you may write code like this:
function logElementHeight() {
  // Gets the height of the element in pixels and logs it out.
  console.log(element.offsetHeight);
}
Things get problematic if you have changed the styles of the element before you ask for its height:
function logElementHeight() {
  element.classList.add('super-big');

  // Gets the height of the element in pixels and logs it out.
  console.log(element.offsetHeight);
}
Now, to answer the height question, the browser must first apply the style change, and then run layout. This is unnecessary and potentially expensive work.
Hence, you should always batch your style reads and do them first.
The correct code should be:
function logElementHeight() {
  // Gets the height of the element in pixels
  // and logs it out.
  console.log(element.offsetHeight);

  element.classList.add('super-big');
}
Avoid layout thrashing
Forced synchronous layouts can be worse if you do lots of them in quick succession.
Take a look at this code:
function resizeAllParagraphsToMatchBlockWidth() {

  // Puts the browser into a read-write-read-write cycle.
  for (var i = 0; i < paragraphs.length; i++) {
    paragraphs[i].style.width = element.offsetWidth + 'px';
  }
}
This code loops over a group of paragraphs and sets each paragraph’s width to match the width of an element called “element”. It looks harmless enough, but the problem is that each iteration of the loop reads a style value (element.offsetWidth) and then immediately uses it to update the width of a paragraph (paragraphs[i].style.width). On the next iteration of the loop, the browser has to account for the fact that styles have changed since offsetWidth was last requested (in the previous iteration), and so it must apply the style changes, and run layout. This will happen on every single iteration!.
The correct code should be:
// Read.
var width = element.offsetWidth;

function resizeAllParagraphsToMatchBlockWidth() {
  for (var i = 0; i < paragraphs.length; i++) {
    // Now write.
    paragraphs[i].style.width = width + 'px';
  }
}
Simplify paint complexity and reduce paint areas
Paint is often the longest-running of all tasks in the pipeline. Thus, you should avoid it if possible.
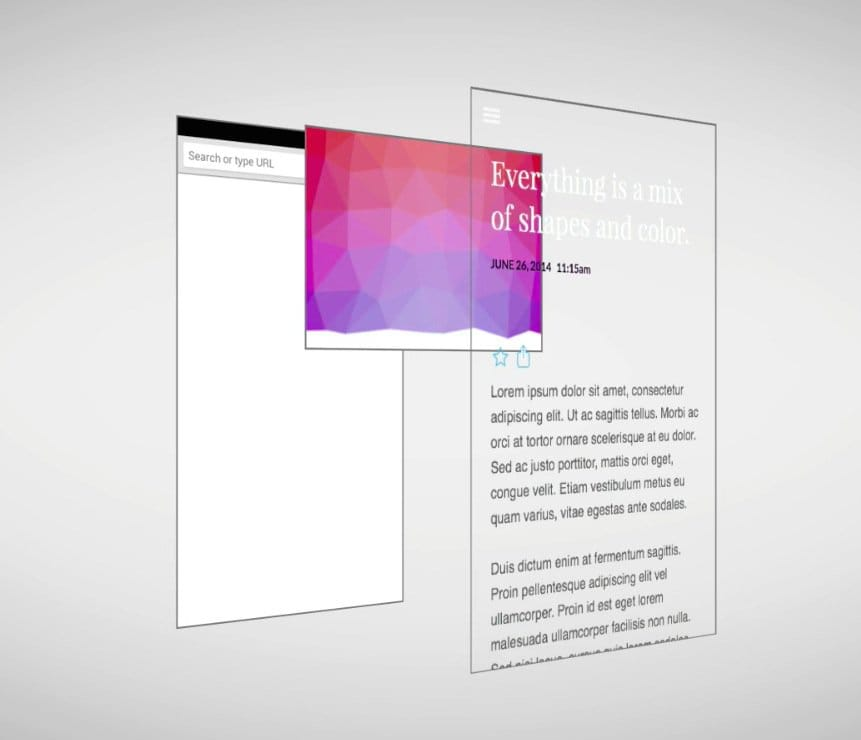
Use DevTools to quickly identify paint bottlenecks
You can use DevTools to identify areas that are being painted.
Promote elements that move or fade
Painting is not always done into a single image. If necessary, the browser can paint into multiple images or compositor layers.
The benefit of promoting elements is that elements that are regularly repainted can be handled without affecting other elements.
The best way to use the will-change CSS property is to create a new layer. This will work in Chrome, Firefox and Opera.
The code is:
.moving-element {
  will-change: transform;
}
For browsers that don’t support will-change you need to use a 3D transform to force a new layer:
.moving-element {
  transform: translateZ(0);
}
If you have promoted an element to a new layer, you should use DevTools to check if doing so has given you a performance benefit. Don’t promote elements without profiling.
Reduce paint areas
Sometimes, despite promoting elements, paint work is still necessary.
A challenge of paint issues is that the browser unions together 2 areas that need painting, and that can result in the entire screen being repainted.
Reducing paint areas is to orchestrate your animations and transitions to not overlap as much, or find ways to avoid animating certain parts of the page.
Simplify paint complexity
When it comes to painting, some are more expensive than others. For example, anything that involves a blur is going to take longer to paint than drawing a solid color box.
Thus, always try to avoid paint if possible, as the 10ms time budget per frame is normally not enough to get paint work done, especially on mobile devices.
Stick to compositor-only properties and manage layer count
There are 2 key factors compositing that affect rendering performance:
- The number of compositor layers that need to be managed
- The properties that you use for animations.
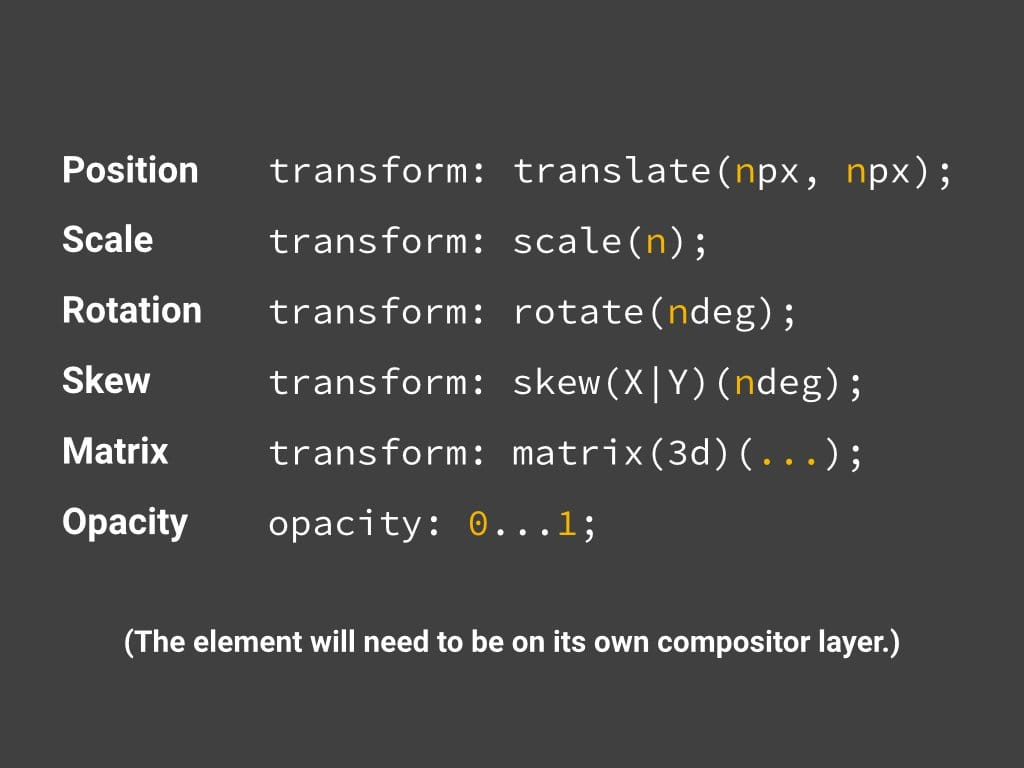
Use transform and opacity changes for animations
It’s best to avoid both layout and paint in the pixel pipeline, and only requires compositing changes:
To achieve it, you need to stick to changing properties that can be handled by only the compositor. There are only 2 properties you can use: transforms and opacity.
Promote elements that you plan to animate
You should promote elements that you plan to animate to their own layer:
.moving-element {
  will-change: transform;
}
For older browsers or browsers that don’t support will-change:
.moving-element {
  transform: translateZ(0);
}
Conclusion
In this article, we have shown you how to optimize Magento Rendering Performance for your website to enhance user experience.
Please Like, Share and Comment to let us know your opinion or any suggestions for this article.
EXPLORE NOW: Hyva Theme Development Service to enhance your Magento website into a speedy performance!
BSS Commerce is one of the leading Magento extension providers and web development services in the world. With experienced and certified Magento developers, we commit to bringing high-quality products and services to optimize your business effectively. Furthermore, we offer FREE Installation – FREE 1-year Support and FREE Lifetime Update for every Magento extension.
CONTACT NOW to let us know your problems. We are willing to support you every time.