
Step 1: Open port for FTP
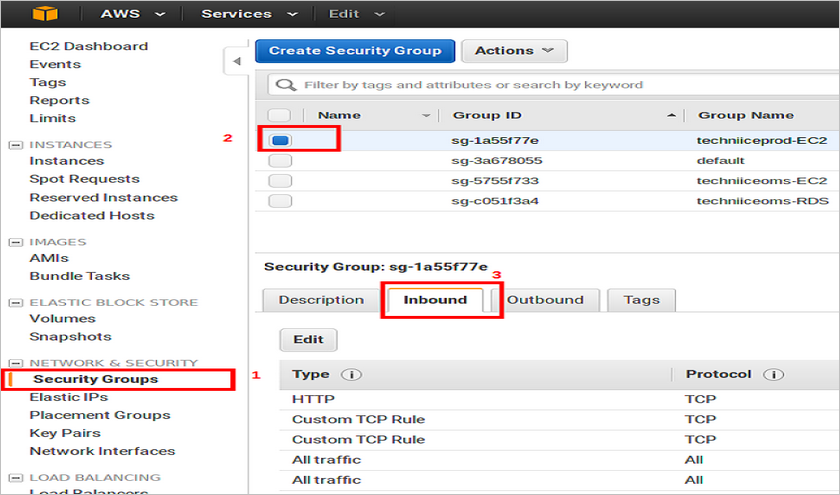
Firstly, log in AWS EC2 Management Console. Then click Security Groups, choose “Security Groups” and then choose tab “Inbound” as the following picture:
When you click on Edit, it will show up a table for editing port. Now we add 2 lines for Custom TCP Rule, with the port numbers are 21 và 1024-1048 respectively. At column “Source”, choose “Anywhere”
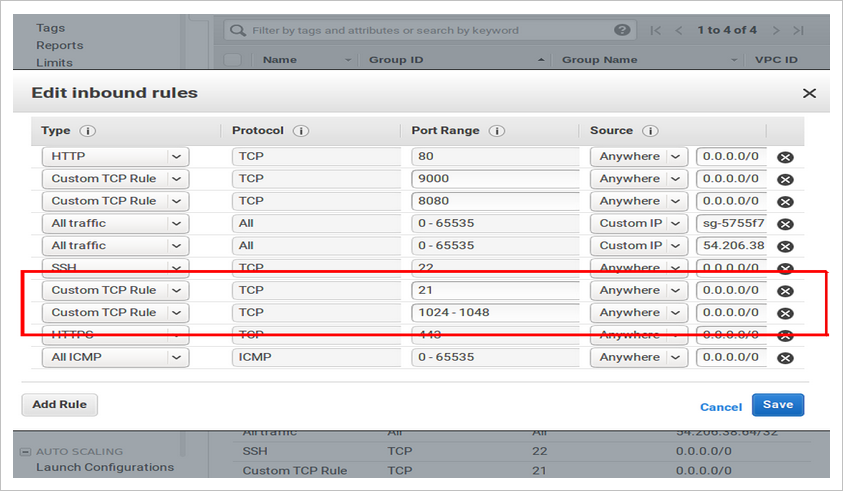
FInally, just hit “Save”.
Step 2: Set up server FTP
Connect SSH to server and set up vsftpd. For Ubuntu: apt-get install vsftpd, for Centos: yum install vsftpd.
Now fix the config file of vsftpd
# vim /etc/vsfptd.confThere are some lines which are commented have # at the beginning. So configure these following parameters:
anonymous_enable=NO
write_enable=YES
 xferlog_file=/var/log/vsftpd.log
pasv_enable=YES
pasv_min_port=1024
pasv_max_port=1048
pasv_address=<Public IP of instance seen on website amazon>
Restart Service:
# service vsftpd restart Step 3: Create User FTP
In Linux server, type this command: adduser <username>. Here, the command prompt requires adding password for this new user twice. Remember to type it exactly.
Add new user to the Usergroup (in case the new account is not allowed to create/edit/view file in the folder)
# usermod -a -G <groupname> <username>When adding completed, you can check again to verify the groups containing that user by # groups <username>
Step 4: Configure the default folder for FTP user
You just need to follow this form:
# usermod -d /var/www/public_html/ <username>All done. Now you can test again by connecting FTP with the new account. Leave a comment if you have any trouble doing this and we will find a way to solve it.