
Hi guys,
Welcome back to our tutorial!
This article today will provide you with a step-by-step instruction on how to make a custom layout in practice, especially illustrating the layout changes of customer account links in Magento’s page header.
I have just created a new theme – the Bss theme which is inherited from a blank theme and has a similar style to the one in the following image:
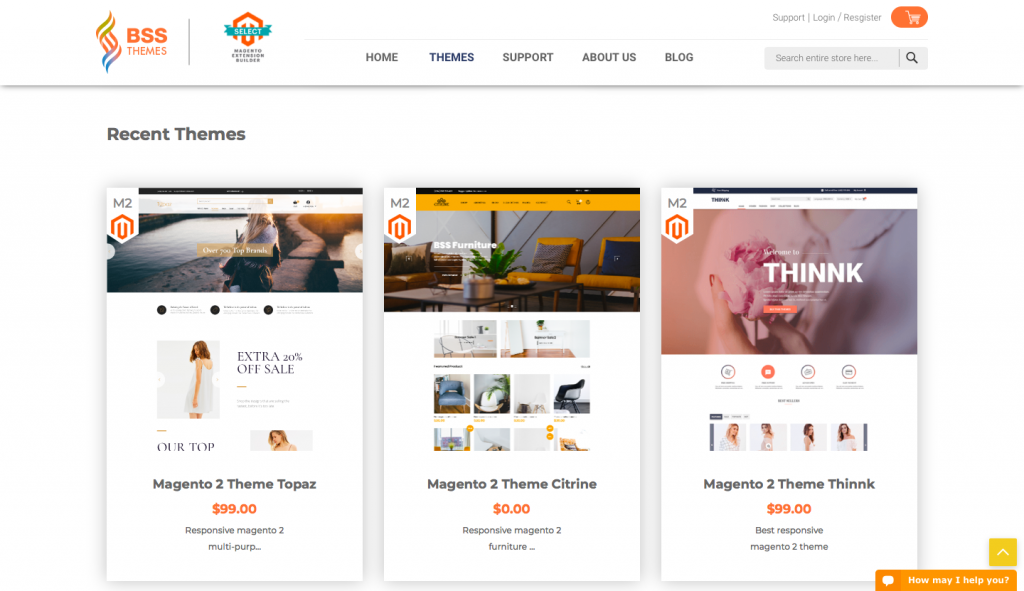
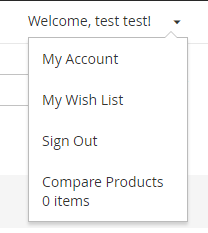
And I want to move the Customer account links to the drop-down as below:
To get the results as the above, it is necessary for you to follow these steps:
Step 1: Define the layout block
Bss theme applies the Luma theme:using the descriptive method in determining template, layout and style position. The file is responsible for displaying the specified header links in the file:<Magento_Theme_module_dir>/view/frontend/layout/default.xml:
 <container name="header.panel" label="Page Header Panel" htmlTag="div" htmlClass="panel ">
    ...
    <block class="Magento\Framework\View\Element\Html\Links" name="top.links">
        <arguments>
            <argument name="css_class" xsi:type="string">header links</argument>
        </arguments>
    </block>
</container>
Other modules use this block to add their specific links to the header using referenceBlock.
For example: Luma theme
Customer module in the Luma theme: use move top.links to block customer.
<Magento_luma_theme_dir>/Magento_Theme/layout/default.xml
 <referenceBlock name="header.links">
    <block class="Magento\Customer\Block\Account\Customer" name="customer" template="account/customer.phtml" before="-"/>
    ...
</referenceBlock>
...
<move element="top.links" destination="customer"/>
...
In the Luma theme file outside the dropdown menu, a new block – header.links is added.
<Magento_luma_theme_dir>/Magento_Theme/layout/default.xml
 <referenceContainer name="header.panel">
    <block class="Magento\Framework\View\Element\Html\Links" name="header.links">
        <arguments>
            <argument name="css_class" xsi:type="string">header links</argument>
        </arguments>
    </block>
</referenceContainer>
Step 2: Define the template
Like the previous step, the Bss theme identifies a template using the dropdown located in the directory:
<Magento_Customer_module_dir>/view/frontend/templates/account/customer.phtml
 <?php if($block->customerLoggedIn()): ?>
    <li class="customer-welcome">
        <span class="customer-name"
              role="link"
              tabindex="0"
              data-mage-init='{"dropdown":{}}'
              data-toggle="dropdown"
              data-trigger-keypress-button="true"
              data-bind="scope: 'customer'">
            <span data-bind="text: customer().fullname"></span>
            <button type="button"
                    class="action switch"
                    tabindex="-1"
                    data-action="customer-menu-toggle">
                <span><?php /* @escapeNotVerified */ echo __('Change')?></span>
            </button>
        </span>
        <script type="text/x-magento-init">
        {
            "*": {
                "Magento_Ui/js/core/app": {
                    "components": {
                        "customer": {
                            "component": "Magento_Customer/js/view/customer"
                        }
                    }
                }
            }
        }
            </script>
            <?php if($block->getChildHtml()):?>
            <div class="customer-menu" data-target="dropdown">
                <?php echo $block->getChildHtml();?>
            </div>
            <?php endif; ?>
        </li>
    <?php endif; ?>
Step 3: Extend the basic layout to add a block
Create the extend layout file in the Bss theme.
app/design/frontend/Bss/default/Magento_Theme/layout/default.xml
 <?xml version="1.0"?>
<page xmlns:xsi="http://www.w3.org/2001/XMLSchema-instance" xsi:noNamespaceSchemaLocation="urn:magento:framework:View/Layout/etc/page_configuration.xsd">
    <body>
        <referenceContainer name="header.panel">
            <block class="Magento\Framework\View\Element\Html\Links" name="header.links">
                <arguments>
                    <argument name="css_class" xsi:type="string">header links</argument>
                </arguments>
            </block>
        </referenceContainer>
    </body>
</page>
Step 4: Move the links
To move the links to the block header.links, we need to add the extend layout file into the theme:
app/design/frontend/Bss/default/Magento_Customer/layout/default.xml
 <?xml version="1.0"?>
<!--
/**
 * Copyright © Magento, Inc. All rights reserved.
 * See COPYING.txt for license details.
 */
-->
<page xmlns:xsi="http://www.w3.org/2001/XMLSchema-instance" xsi:noNamespaceSchemaLocation="urn:magento:framework:View/Layout/etc/page_configuration.xsd">
    <body>
        <referenceBlock name="header.links">
            <block class="Magento\Customer\Block\Account\Customer" name="customer" template="Magento_Customer::account/customer.phtml" before="-"/>
            <block class="Magento\Customer\Block\Account\AuthorizationLink" name="authorization-link-login" template="Magento_Customer::account/link/authorization.phtml">
                <arguments>
                    <argument name="sortOrder" xsi:type="number">10</argument>
                </arguments>
            </block>
        </referenceBlock>
        <move element="header" destination="header.links" before="-"/>
        <move element="register-link" destination="header.links"/>
        <move element="top.links" destination="customer"/>
        <move element="authorization-link" destination="top.links" after="-"/>
    </body>
</page>
Next, clear the cache and get the results:
Step 5: Use Css to style the dropdown menu
In the folder of the Bss theme, create the file:app/design/frontend/Bss/default/web/css/source/_extend.les
 //
//  Common
//  _____________________________________________

& when (@media-common = true) {
    .header.panel .header.links {
        .customer-welcome + .authorization-link {
            display: none;
        }
    }
}

//
//  Mobile
//  _____________________________________________

.media-width(@extremum, @break) when (@extremum = 'max') and (@break = @screen__m) {
    .customer-name,
    .customer-welcome + .authorization-link {
        display: none;
    }
}

//
//  Desktop
//  _____________________________________________

.media-width(@extremum, @break) when (@extremum = 'min') and (@break = @screen__m) {
    .customer-welcome {
        .lib-dropdown(
            @_toggle-selector: ~'.action.switch',
            @_options-selector: ~'.customer-menu .header.links',
            @_dropdown-actions-padding: 0,
            @_icon-font-text-hide: true,
            @_icon-font-size: 22px,
            @_icon-font-line-height: 22px,
            @_dropdown-list-min-width: 160px,
            @_dropdown-list-item-hover: transparent,
            @_dropdown-list-pointer-position: right,
            @_dropdown-list-position-right: 0
        );

         li {
            a {
                .lib-link(
                @_link-color: #333,
                @_link-text-decoration: none,
                @_link-color-visited: #333,
                @_link-text-decoration-visited: none,
                @_link-color-hover: #333,
                @_link-text-decoration-hover: none,
                @_link-color-active: #333,
                @_link-text-decoration-active: none
                );
                display: block;
                line-height: 1.4;
                padding: 8px;
            }
        }
 .action {
 &.switch {
 background: transparent;
 border: none;
 }
 }
    }
}
Step 6: Run the command line and check the results
Run the command:
 php bin/magento s:up
php bin/magento setup:static-content:deploy -f
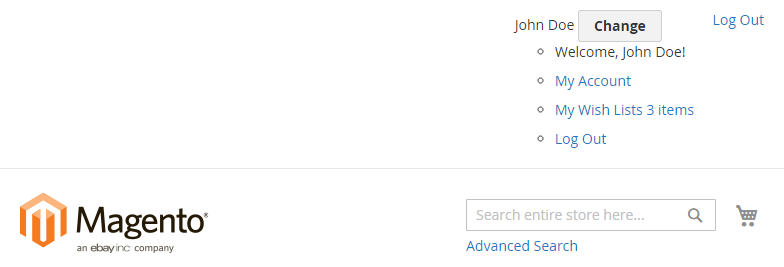
Reload the page and check the results:

Conclusion
I hope that you get useful knowledge to customize layout illustration quickly. Please Like, Share and Comment to let us know your opinion or any suggestions for this article.