
If you are confused about Magento 2 ajax add to cart extension, including which is best, how to config it in the right way, don’t worry! We will show you the detailed information to have a clear knowledge of Ajax cart. Read the blog now!
You might be interested in How To Enable Ajax Add To Cart Magento 2 Of Product Widget
Add To Cart In Default Magento
Table of Contents
The default setting Magento has created a good cart function that meets the basic needs of most customers. Customers click the cart icon on the product list, then they are redirected to the product page. When customers add something to their cart from product page, the item is automatically moved to their mini cart.
However, that is not the correct meaning of “add to cart”. It’s a shortage of default Magento. Customers have to wait for redirecting and loading the new page.
The Best Solution For Add-To-Cart Process
If you are finding a solution to resolve the default Magento cart problem, we are pleased to recommend you Magento 2 ajax add to cart extension by BSS Commerce.
This extension is a perfect tool to optimize every click to add product to cart. When customers click the Add to Cart button, this module allows you to display a product preview window. Customers can see product details and add them to their cart without being redirected thanks to this popup.
Furthermore, it incentivizes consumers to buy more by offering up-selling products, cross-selling products or related products on the shopping popup.
Besides that, there are more nice features you can get if use Magento 2 Ajax cart:
- Provide a compatible and suitable Ajax cart popup.
- Designed specifically for products that can be customized
- There are no limits to the number of alternatives available to customers.
- Customize the content and appearance of the popup cart as needed.
- Provide the most seamless, out-of-the-box customer experience possible.
- There are over 5 popup animations to choose from. There will be no more obnoxious popup carts!
Magento 2 Ajax Add To Cart Extension – The Best Solution For Add-To-Cart Process
Before getting the detailed guide, 2 sections displayed after adding product to cart in the backend you should note:
- Success Popup (confirmation popup) to notify customers of adding to cart successfully.
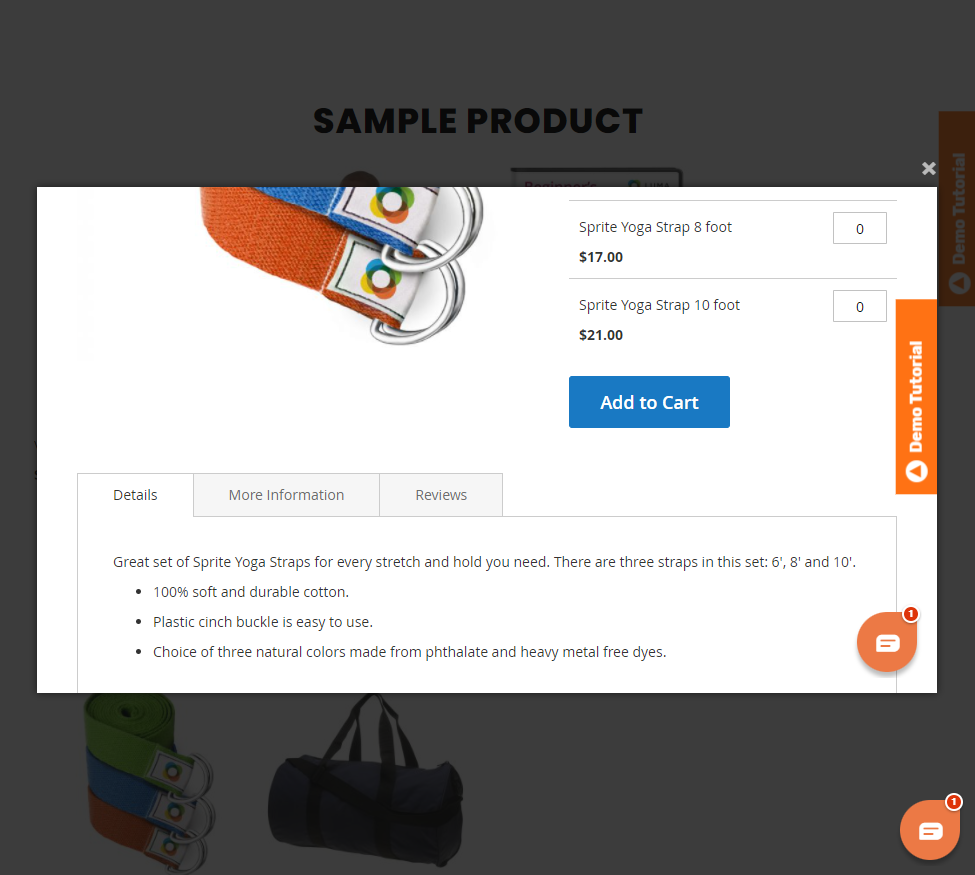
- Quick View Popup (add-to-cart popup) allows customers to choose from a variety of product options when adding bundle, grouped, and configurable products to cart.
To activate Magento 2 Ajax Add to cart extension, you need to follow the following steps in the backend:
Go to Stores ⇒ Configuration ⇒ BSSCOMMERCE ⇒ Ajax Cart.
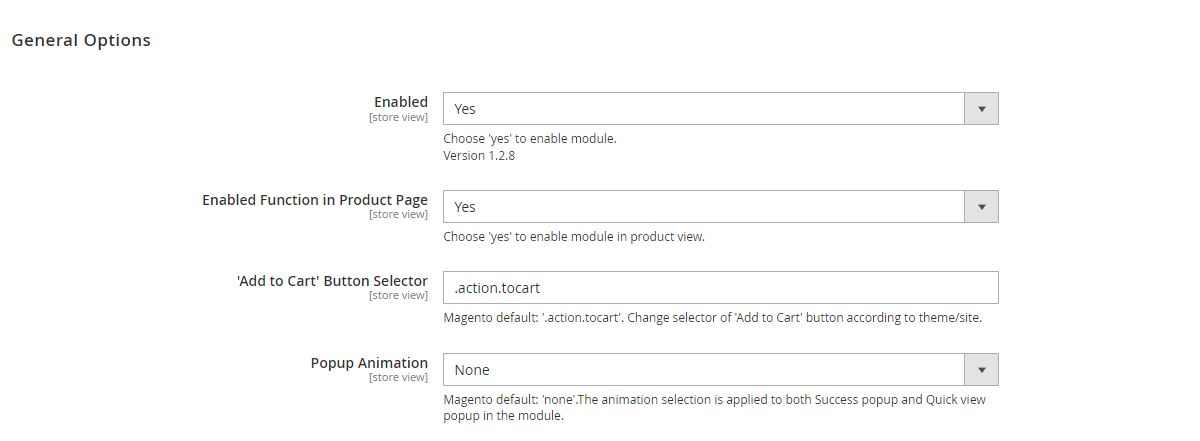
Don’t forget to enable both module and ajax add-to-cart function on the Product page.
In “Add to Cart” Button Selector config, you can tailor “.action.tocart” to make it compatible with your theme/site.
Make your website more smooth and more professional by selecting one of 5 popup animations including Zoom out, 3D Unfold, Move from Top, Horizontal Move, Zoom.
After finishing general configs, go to the specific settings sections below!
Config success popup setting
You can easily and quickly create a success popup with the optional elements.
- Set up the main product
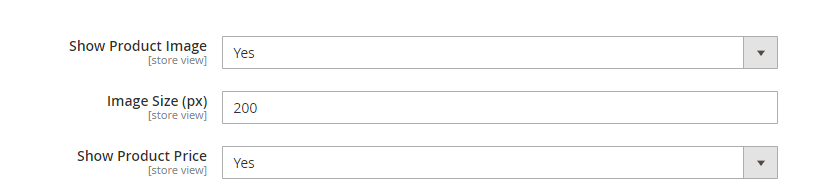
Two elements of the product you need to config are image and price. If you want to display the product image and product price in the Success popup, you choose Yes in Show Product Image and Show Product Price configs. Otherwise, choose No to exclude them.
Besides that, the product image size can be customized based on admin desirability (measured by pixel). Typing the size in Image Size config.
- Set up button and link
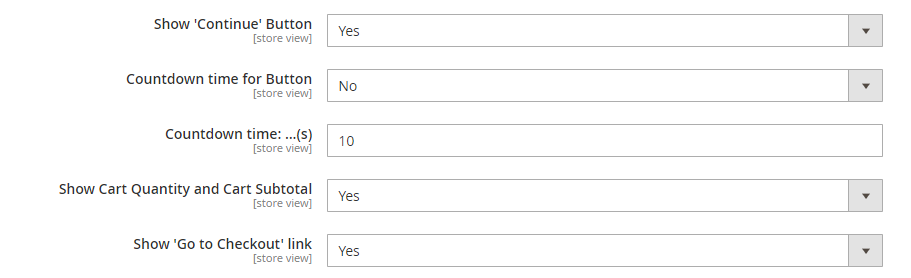
Choose Yes or No to allow the customer to see the continue button or not at Show “Continue” Button config.
It’s completely flexible for you and your customer if having countdown timer to close Success Popup. There are 3 options to set countdown time for popup:
- Turn off this function: Choose No in Countdown time for Button.
- Set time for Continue Button: it’s just active if you choose Yes in Show “Continue” Button and choose Continue Button in Countdown time for Button. After countdown time, Success Popup is auto-closed and customer can continue shopping.
- Set time for View Cart: choose View Cart option. After countdown time, Success Popup is auto-closed and customer is redirected to Shopping Cart page.
Then type the number that you want to set the countdown time (measured in seconds) in Countdown Time section.
- Set up to show related product block
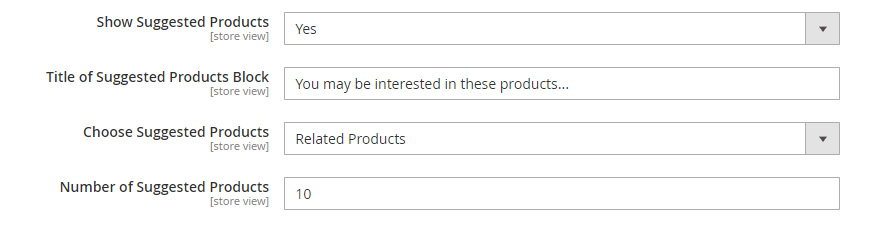
Choose Yes in Show Suggested Products config to enable boost sale feature. Don’t forget to create attractive content to call to action placed in Title of Suggested Product Block. For example: Activate more benefits since combining with.
3 types of products you can select in Choose Suggested Products config to boost sales: Related Products, Up-Sell Products, Cross-Sell Products.
The final action in this step is typing the Number of Suggested Products.
Style success popup design

You can design your own popup by changing the color and text of popup elements. We focus on highlighting 2 buttons in the popup. You can navigate customer attention by designing Continue Shopping button or View Cart button more colorfully.
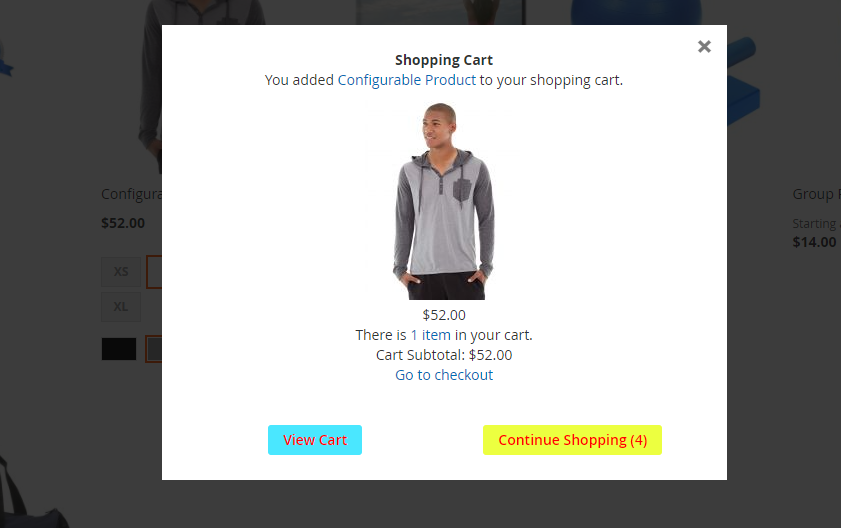
Furthermore, you also change button color on Hover.
Set up quick view popup

Show “Go to Product” link allows customers to click on and redirect to Product page.
A quick view popup is displayed like a mini product page when you select Yes to Show Additional Data. All the information on the product is shown in a quick view cart including product detail, review, and more information. If you choose No, this section is hidden.
Make cart fly effect
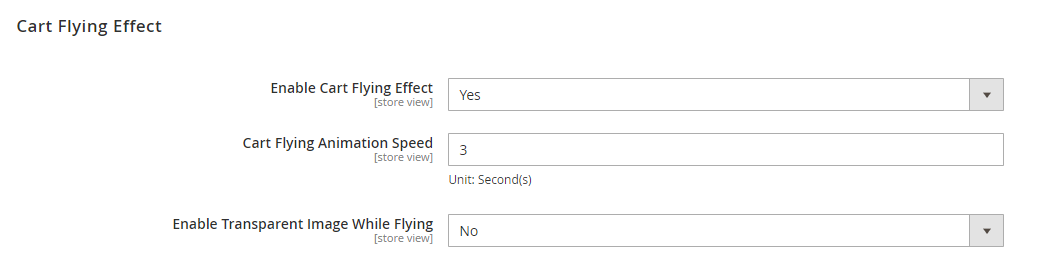
Use a catchy animation – a flying effect applied to the added-to-cart product – to further engage clients with an element of entertainment.
You need to enable this feature first by choosing Yes in Enable Cart Flying Effect config.
Then, type the number to set the speed of Cart flying animation (unit: second(s)).
Finally, to make this effect more attractive, choose Yes in Enable Transparent Image While Flying config.
Conclusion
This blog has shown detailed instructions about how to activate the Ajax Add to cart Magento extension. We hope you can comprehend that and practice well.
BSS Commerce is one of the leading Multi-platform eCommerce solution and web development services providers in the world. With experienced and certified developers, we commit to bring high-quality products and services to optimize your business effectively.
CONTACT NOW to let us know your problems. We are willing to support you every time.