
As you may concern, Magento uses an Access Control Lists (ACL) to authorize and control user access within the system with the purpose of effectively managing the site. So today I will share how to setup and authorize a backend menu.
1. Declararing location
Go to <adminhtml> (in config.xml file or in adminhtml.xml file)
2. Declaring Configuration in the system
<acl>
           <resources>
             <all>
               <title>Allow Everything</title>
             </all>
             <admin>
               <children>
                 <system>
                   <children>
                     <config>
                       <children>
                         <name of section>
                           <title>Title of section</title>
                         </name of section>
                       </children>
                     </config>
                   </children>
                 </system>
               </children>
             </admin>
           </resources>
         </acl>
3. Declaring menu
For example, create a new menu named “Hello” in Catalog Menu
<menu>
      <catalog>
         <title>Catalog</title>
         <sort_order>71>/sort_order>
         <children>
           <hello>
             <title>Manage Hello Menu</title>
             <sort_order>0</sort_order>
             <action>hello/adminhtml_index</action>
           </hello>
         </children>
       </catalog>
     </menu>
– Declare acl for this above menu:
<acl>
        <resources>
            <admin>
                <children>
                    <catalog>
                        <children>
                            <hello translate="title">
                                <title>Manage Hello Menu</title>
                                <sort_order>15</sort_order>
                            </hello>
                        </children>
                    </catalog>
                  </children>
            </admin>
        </resources>
    </acl>
4. Declaring Action in Controller
– Create custom acl for the module which contains Router admin “Hello”, set Manage for Controller and other Actions in Controller are Index , View , Edit , delete :
<acl>
      <resources>
        <admin>
          <children>
            <hello translate="title">
              <title>Bss_Hello</title>
              <sort_order>60</sort_order>
              <children>
                <manage translate="title">
                  <title>Manage</title>
                  <children>
                    <actions translate="title">
                      <title>Actions</title>
                      <children>
                        <index translate="title"><title>Index</title></index>
                        <view translate="title"><title>View</title>lt;/view>
                        <edit translate="title"><title>Edit</title></edit>
                        <delete translate="title"><title>Delete</title></delete>
                      </children>
                    </actions>
                  </children>
                  <sort_order>10</sort_order>
                </manage>
              </children>
            </hello>
          </children>
        </admin>
      </resources>
    </acl>
– Edit controller admin to grant permission to Action according to each user’s permission (check again)
Declare function _isAllowed

protected function _isAllowed()
    {
                   //get the name of action
        $action = strtolower($this->getRequest()->getActionName());
       //set true and allow to access to action if resource acl is chosen
        return Mage::getSingleton('admin/session')->isAllowed(hello/manage/actions/'.$action);
    }
5. Set up permission for each account
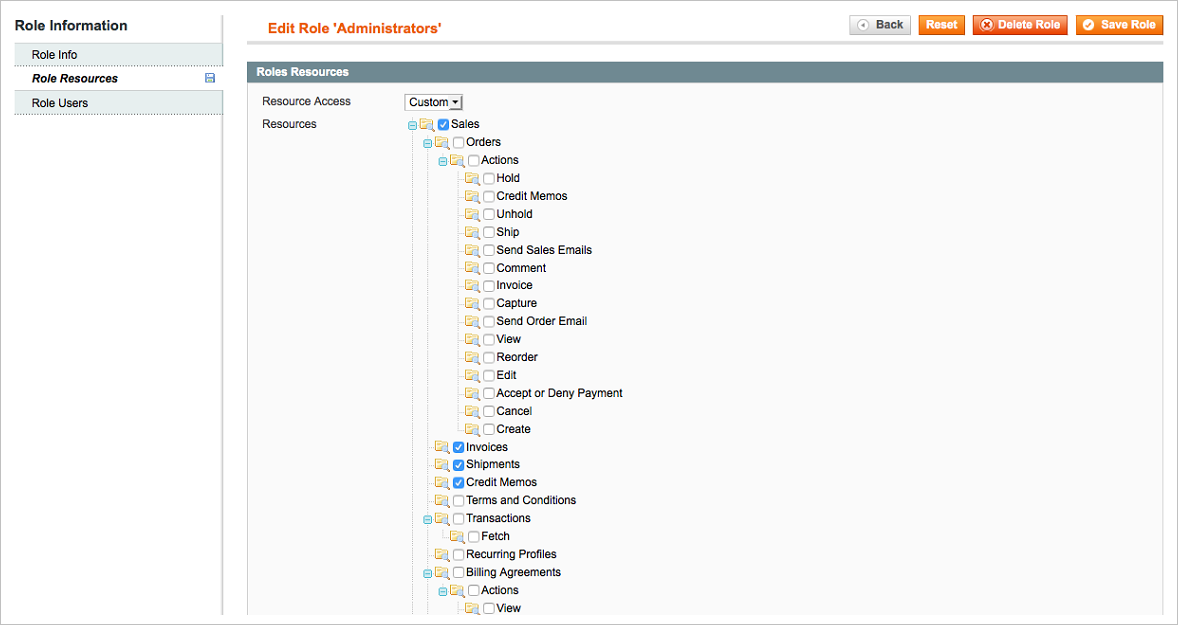
– Go to Roles to declare permission

– Choose the applications that are allowed to access to that Roles
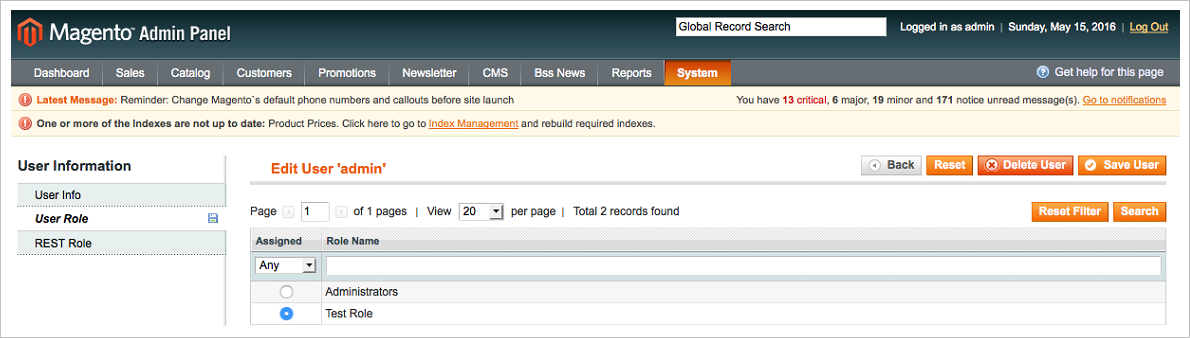
– Set Roles for User
That’s it. I hope this article will help you find the way to handle your problems.