Magento has lots of ways to create custom customer attribute and add to customer grid through Setup Script. So how to create mass action and save custom attributes to the customer grid?
It’s easy for you with 4 steps in this article.
Step 1: Create InstallData
Create folder: app/code/Bss/Mymodule/Setup/InstallData.php
Example:
<?php
namespace Bss\Mymodule\Setup;
use Magento\Customer\Model\Customer;
use Magento\Customer\Setup\CustomerSetupFactory;
use Magento\Framework\Setup\InstallDataInterface;
use Magento\Framework\Setup\ModuleContextInterface;
use Magento\Framework\Setup\ModuleDataSetupInterface;
class InstallData implements InstallDataInterface
{
private $customerSetupFactory;
public function __construct(
CustomerSetupFactory $customerSetupFactory
) {
$this->customerSetupFactory = $customerSetupFactory;
}
public function install(ModuleDataSetupInterface $setup, ModuleContextInterface $context)
{
$setup->startSetup();
/** @var CustomerSetup $customerSetup */
$customerSetup = $this->customerSetupFactory->create(['setup' => $setup]);
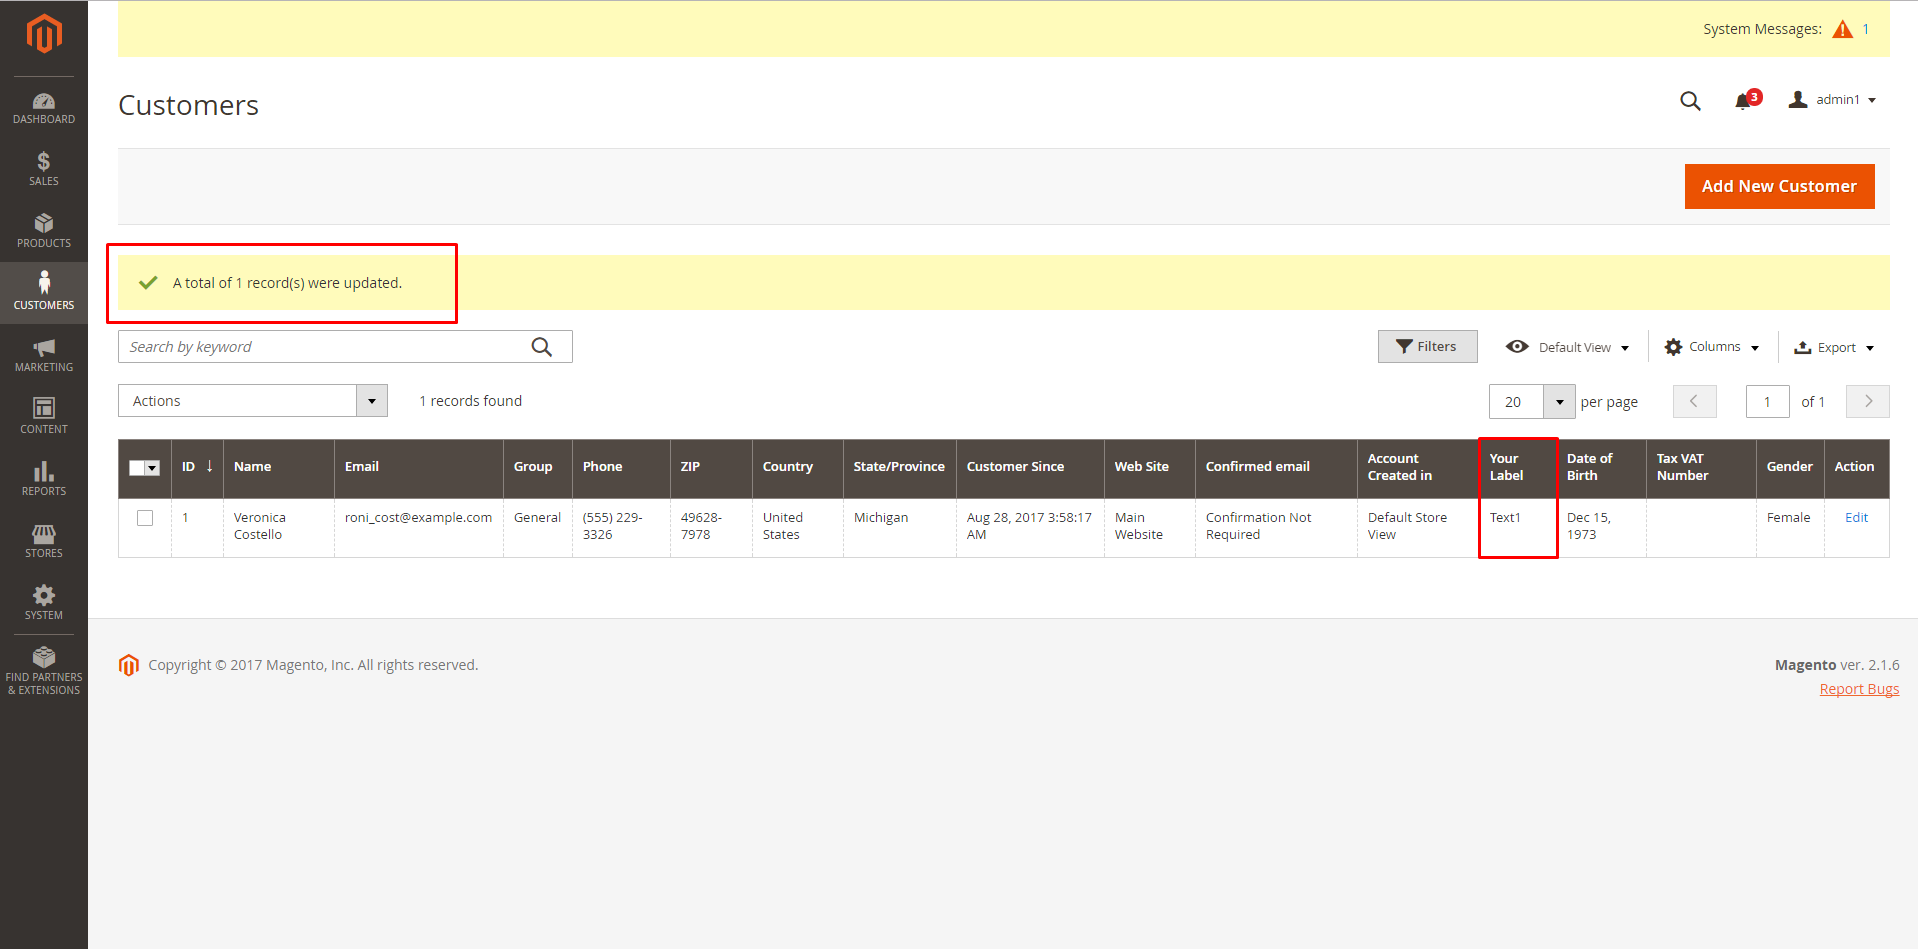
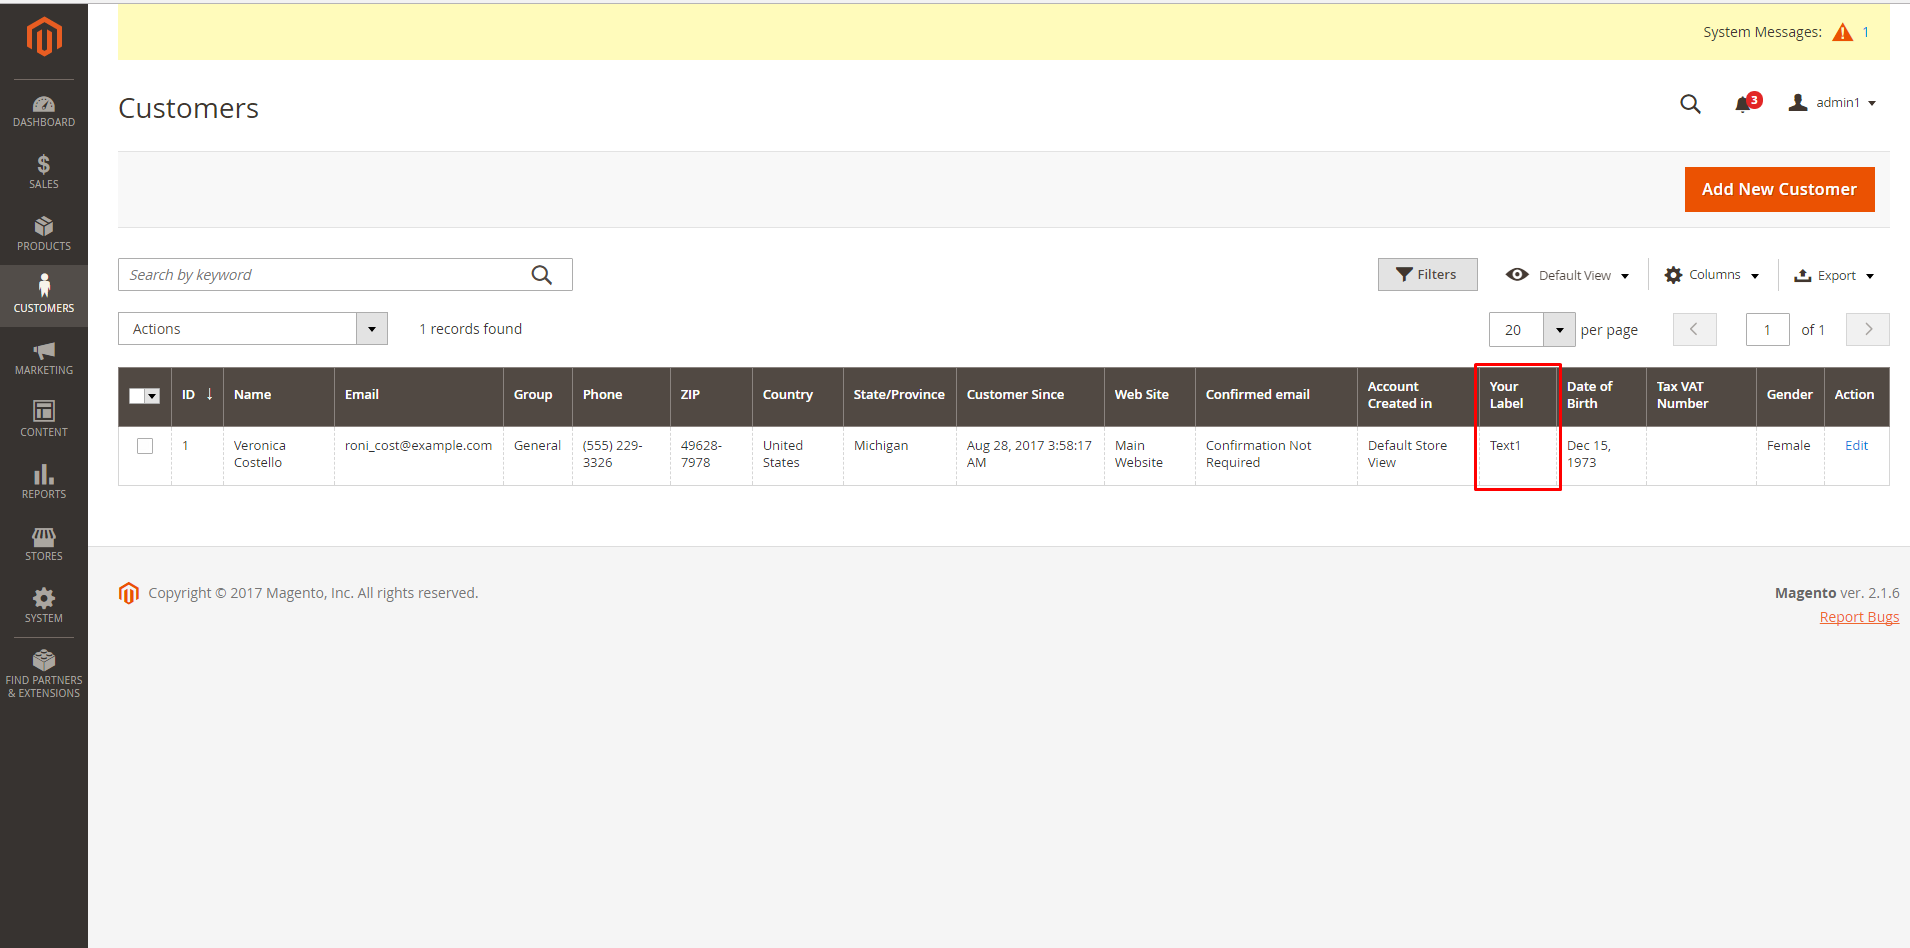
$customerSetup->addAttribute(Customer::ENTITY, 'your_attributes', [
'label' => 'Your Label',
'input' => 'select',
'required' => false,
'sort_order' => 100,
'visible' => true,
'system' => false,
'type' => 'int',
'source' => 'Magento\Eav\Model\Entity\Attribute\Source\Table',
'is_used_in_grid' => true,
'is_visible_in_grid' => true,
'is_filterable_in_grid' => true,
'is_searchable_in_grid' => true,
'option' => ['values' => ['Text1', 'Text2']],
]);
$setup->endSetup();
}
}
This file will execute only when installing the module.
Your attributes will be saved in the database by available model default: Magento\Customer\Model\Customer.
- your_attributes will save in customer_eav_attribute and eav_attribute.
- The relationship between attribute_code and attribute_option_id save in eav_attribute_option table. T
- The relationship between attribute_option_id and attribute_value save in eav_attribute_option_value table.
Note:
- ‘input’ => ‘select’ : This is type of attributes. You can change it to select, text, textarea, multiselect, date, hidden, boolean, image, int, price … And you can check it in eav_attribute table.
- ‘source’ => ‘Magento\Eav\Model\Entity\Attribute\Source\Table’: This is use for dropdown and multiselect attributes.
- ‘option’ => [‘values’ => [‘Text1’, ‘Text2’]]: Text1, Text2 is your attributes label.
Step 2: Create MassAction by Ui Component
Create folder: app/code/Bss/Mymodule/view/adminhtml/ui_component/customer_listing.xml
In Magento 2.1.x
<?xml version="1.0" encoding="UTF-8"?>
<listing xmlns:xsi="http://www.w3.org/2001/XMLSchema-instance" xsi:noNamespaceSchemaLocation="urn:magento:module:Magento_Ui:etc/ui_configuration.xsd">
<listingToolbar name="listing_top">
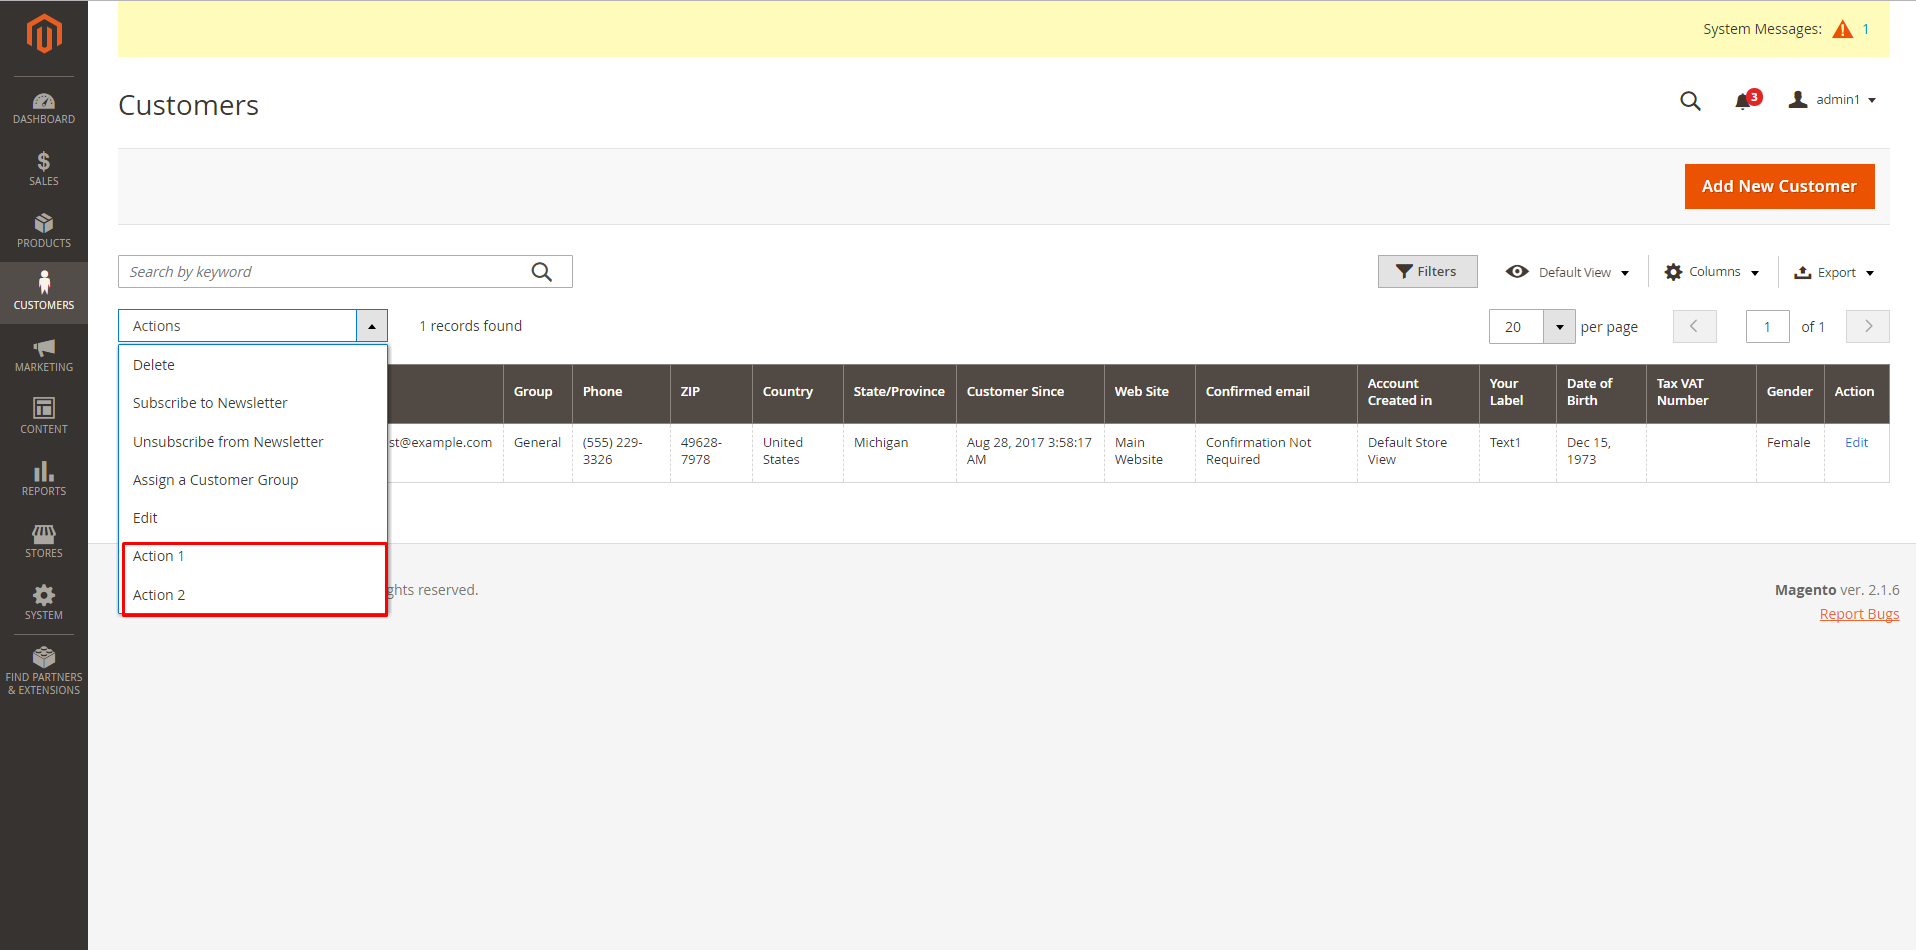
<massaction name="listing_massaction">
<action name="text1">
<argument name="data" xsi:type="array">
<item name="config" xsi:type="array">
<item name="type" xsi:type="string">text1</item>
<item name="label" xsi:type="string" translate="true">Action 1</item>
<item name="url" xsi:type="url" path="mymodule/index/massAction1"/>
<item name="confirm" xsi:type="array">
<item name="title" xsi:type="string" translate="true">Action 1</item>
<item name="message" xsi:type="string" translate="true">Are you sure to Action 1 selected customers?</item>
</item>
</item>
</argument>
</action>
<action name="text2">
<argument name="data" xsi:type="array">
<item name="config" xsi:type="array">
<item name="type" xsi:type="string">text2</item>
<item name="label" xsi:type="string" translate="true">Action2</item>
<item name="url" xsi:type="url" path="mymodule/index/massAction2"/>
<item name="confirm" xsi:type="array">
<item name="title" xsi:type="string" translate="true">Action 2</item>
<item name="message" xsi:type="string" translate="true">Are you sure to Action 2 selected customers?</item>
</item>
</item>
</argument>
</action>
</massaction>
</listingToolbar>
</listing>
In which:
- <action name=”text1″> : The name of massAction.
- <item name=”type” xsi:type=”string”>text1</item> : The name of item.
- <item name=”label” xsi:type=”string” translate=”true”>Action 1</item>: The label of massAction.
- <item name=”url” xsi:type=”url” path=”mymodule/index/massAction1″/>: Here you can fill out the controller url . VD: mymodule/index/massAction1
- <item name=”title” xsi:type=”string” translate=”true”<Action 1</item>: The label appear when you click to massAction. You need to confirm
- <item name=”message” xsi:type=”string” translate=”true”>Are you sure to Action 1 selected customers?</item>: The message when you confirm.
In the Magento 2.0.x:
You need to change <llistingToolbar name=”listing_top”> to <container name=”listing_top”>
Step 3: Create admin router
Create folder: app/code/Bss/Mymodule/etc/adminhtml/routes.xml
I will use mymodule router for admin and massAction to Controller: mymodule/index/massAction1
Do same as mymodule/index/massAction2<?p>
Example:
<?xml version="1.0"?>
<config xmlns:xsi="http://www.w3.org/2001/XMLSchema-instance" xsi:noNamespaceSchemaLocation="urn:magento:framework:App/etc/routes.xsd">
    <router id="admin">
        <route frontName="mymodule" id="mymodule">
            <module name="Bss_Mymodule"/>
        </route>
    </router>
</config>
Step 4: Create Controller to save custom customer attribute
You can save custom customer attribute which you just add to customer grid by creating Controller. In Controller you need to set your attribute value and save customer data.
Create: app/code/Bss/Mymodule/Controller/Adminhtml/Index/MassAction1.php
<?php
namespace Bss\YourModule\Controller\Adminhtml\Index;

use Magento\Backend\App\Action\Context;
use Magento\Customer\Model\ResourceModel\Customer\CollectionFactory;
use Magento\Eav\Model\Entity\Collection\AbstractCollection;
use Magento\Ui\Component\MassAction\Filter;
use Magento\Customer\Api\CustomerRepositoryInterface;
use Magento\Framework\Controller\ResultFactory;
use Magento\Eav\Model\Config;

class MassAction1 extends \Magento\Customer\Controller\Adminhtml\Index\AbstractMassAction
{
    protected $customerRepository;
    protected $eavConfig;

    public function __construct(
        Context $context,
        Filter $filter,
        CollectionFactory $collectionFactory,
        CustomerRepositoryInterface $customerRepository,
        Config $eavConfig
    ) {
        parent::__construct($context, $filter, $collectionFactory);
        $this->customerRepository = $customerRepository;
        $this->eavConfig = $eavConfig;
    }

    protected function massAction(AbstractCollection $collection)
    {
        $customersUpdated = 0;
        $collection = $this->filter->getCollection($this->collectionFactory->create());
        foreach ($collection->getAllIds() as $customerId) {
                // Verify customer exists
            try {
                $customer = $this->customerRepository->getById($customerId);
                $value = $this->UpdateText();
                $customer->setCustomAttribute("your_attributes", $value);
                $this->saveAttribute($customer);
                $customersUpdated++;
                if ($customersUpdated) {
                        $this->messageManager->addSuccess(__('A total of %1 record(s) were updated.', $customersUpdated));
                }
            } catch (\Exception $e) {
                $this->messageManager->addError(__('Something went wrong when save customer'));
            }
            /** @var \Magento\Backend\Model\View\Result\Redirect $resultRedirect */
            $resultRedirect = $this->resultFactory->create(ResultFactory::TYPE_REDIRECT);
            $resultRedirect->setPath($this->getComponentRefererUrl());

            return $resultRedirect;
        }
    }

    protected function saveAttribute($customer)
    {
        return $this->customerRepository->save($customer);
    }

    protected function UpdateText()
    {
        $attribute = $this->eavConfig->getAttribute('customer', 'your_attributes');
        $options = $attribute->getSource()->getAllOptions();
        foreach ($options as $option) {
            if ($option['label'] == 'Text1') {
                $value = $option['value'];
            }
        }
        return $value;
    }
}
We have get the attribute code by attribute label by getAttribute() function in Magento\Eav\Model\Config
To save attribute code for customer. We have use set CustomAttribute(“your_attributes”, $value) function. Then we save customer through ($customer) function of Magento\Customer\Api\CustomerRepositoryInterface