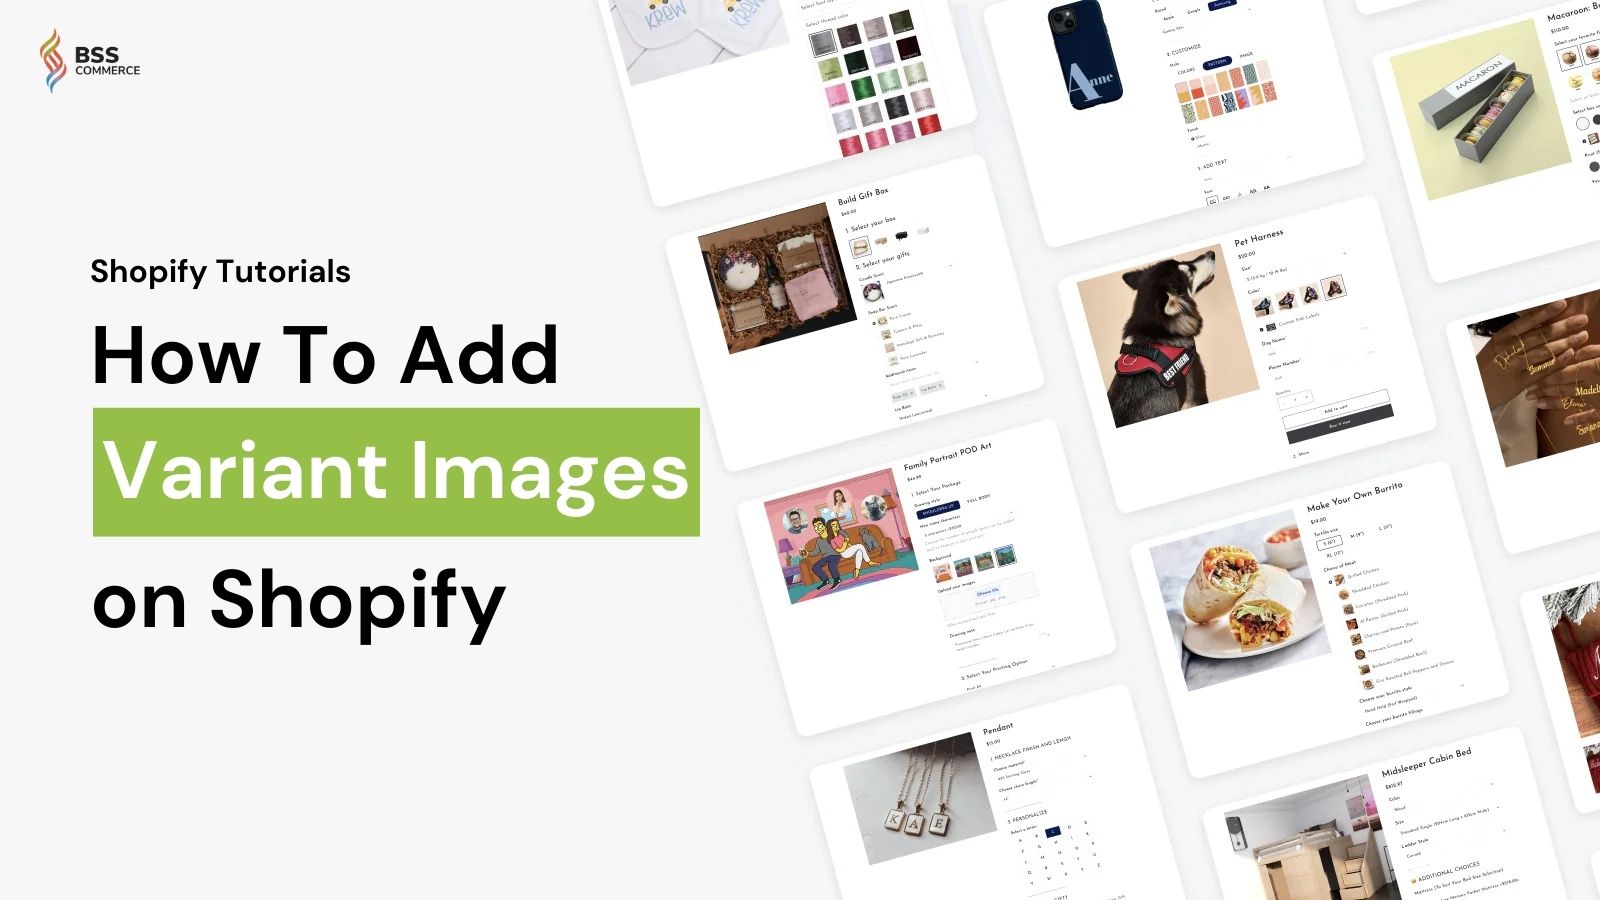
Variant images can help make the product variation showcase much better in Shopify. Whether the comparisons are different colors the customer is comparing or various styles, good and distinct variant images can increase the user experience and conversion tenfold.
In this guide, we will walk you through how to add variant images on Shopify step by step, along with some advanced techniques in using bulk uploads and third-party applications that will make working with your product images a walk in the park.
Contents
How to Add Images to Product Variants on Shopify Individually
There are two major ways to upload variant images on Shopify: individually or in bulk. You can add one image for every variant or use a batch method to handle multiple at a time to make things more effective. In this section, we’ll cover the easiest and most common method first, so that you will get the idea behind how to add pictures to variants on Shopify.
Upload Variant Images Using Shopify on Desktop
To upload images of variants to Shopify on desktop, easily log in to your admin dashboard and proceed with the following steps:
Step 1: On your Shopify admin, go to Products and click on the product you want to edit.

Step 2: In the Variants section, near the variant where you want to add an image, click the icon that looks like a picture.

Step 3: Use an existing product picture or click Add Image to upload from your computer.
Step 4: After selecting your desired image, click Done.
Step 5: Select Save to confirm changes.

Once added, the image will appear next to the variant.
How to Add Variant Images on Shopify Using iOS
To add variant images using the Shopify iOS app, you will first have to download Shopify from the App Store. Then open the app, sign in with your Shopify username and password, and proceed with the following steps:
Step 1: From the app dashboard, simply tap Store, then go to Products > All Products.
Step 2: Tap on the product to which you want to edit.
Step 3: In the Variants section, select XX variants. A new variant popup will open.
Step 4: Tap the + icon and take either an already existing image from your gallery or snap a new photo to assign it to the variant.
Step 5: Click Save.
You may concern: How To Add Images To Shopify Mega Menu
How to Add Variant Images on Shopify via Android
The process of adding variant images on Android using the Shopify app is much alike to what it was in iOS. If you haven’t downloaded the app yet, go to the Play Store and install Shopify. Then log in all your details and do the steps as follows.
Step 1: From the Shopify interface, click Products > All Products.
Step 2: Tap on the product that you want to edit.
Step 3: Click on XX variants under Variants.
Step 4: Tap the + button to add a variant picture.
Step 5: Select ✓ to finish.
Small tips: To ensure smooth processing for adding pictures to variants via mobile devices, keep your Shopify app regularly updated. In addition, using a stable Wi-Fi connection instead of mobile data will reduce or minimize delays in uploading.
How To Add Multiple Images to Variants Shopify in Bulk
Bulk managing product images can save much time, especially if your store contains hundreds of variants. Shopify offers different ways to handle it, through the Shopify Admin itself or through third-party applications.
Using Shopify Admin
The easiest and most effective approach is dealing with variant images en masse using Shopify Admin. The general steps that you will follow are basically similar to adding images to a single product variant. The only difference in steps will be at step number three, where you’ll need to select several variants instead of one.
Here is the detailed guide to how to add images to product variants Shopify in bulk.
Step 1: In your Shopify admin, go to Products.

Step 2: Select the product you want to edit.
Step 3: Under the Variants section, select multiple variants using the check boxes.

Step 4: Click on …, then choose Edit Images.

Step 5: Click Add images and either pick from your existing media or upload new ones.

Step 6: Click Done and Save to apply changes to all selected variants.

These automatically update the images when you’re done, without your having to do some burdensome, repetitive manual input. One thing to remember is to make sure that you’ve assigned correct image files for each variant in order for it to go to exact variants.
The downside to this is that it is manual and, hence, difficult to scale. Suppose you have 100+ variants and several existing products that should have images uploaded; it’s going to be a lot of work.
Using Third-Party Apps
Third-party product variants apps let you automate bulk image uploads on product variants. For stores with large inventories, these tools assure ease of work as they allow for bulk assigning many images to different product variants and offer a bunch of other advanced integrations to speed up the process.

Here’s how to add multiple images to variants Shopify in bulk using third-party tools:
Step 1: On the Shopify App Store, install an app for variant images by a third-party provider.
Step 2: Open the app in your Shopify Admin and advance with the onboarding process. All these apps will, more or less, ask you to choose your products that have variants.
Step 3: Start adding your product variants. You can:
- Bulk upload the images by selecting product variants and dragging those images into the interface of the app.
- Dynamic image switching allows the product image to change when the customer has chosen another variant seamlessly.
Step 4: Save changes and publish them so that the updated changes will be reflected in your store.
5 Best Variant Image Apps for Shopify Store
| App names | Key features |
| BSS: Product Variants Options (4.9/5⭐) |
|
| Globo Product Options, Variant (4.9/5⭐) |
|
| GLO Color Swatch, Variant Image (4.9/5⭐) |
|
| Swatch King: Variants Options (4.9/5⭐) |
|
| Tepo Custom Product Options (4.9/5⭐) |
|
Additional Tips for Optimizing Variant Images
Optimizing your variant images helps ensure that your store is visually appealing while maintaining good performance. Here are some important tips:
Use Proper Image Dimensions & Aspect Ratio
Using consistent image dimensions and aspect ratios allows for your product images to show up consistently on all devices and platforms and gives your store a professional look. As suggested by Shopify Website Image Size Guidelines, product images should be:
- Dimensions: 2048 x 2048 pixels
- Aspect ratio: 1:1
This way, your images will be of high quality and can be easily zoomed without losing clarity. In case you are working with smaller images, say thumbnails, you could use something like 800 x 800 pixels. However, you should always maintain the same aspect ratio to give smoothness to your design experience over all product images.
Compress Images Without Losing Quality
Image compression is key for improving page load times, which is extremely crucial for a good user experience and directly impacts your SEO rankings. Shopify suggests that for the best speed and performance, image file sizes should be less than 300KB.
There are two main types of image compression: lossless and lossy. For Shopify, you would like to reach a balance between quality and file size. Lossless compression is more ideal as it minimizes file size without losing visual quality. Tools like TinyPNG or Compress JPEG are useful for this purpose.

Leverage the Right Image Formats
Another important aspect of image optimization involves choosing the proper file format. There are three main image formats: JPEG (JPG), PNG and WebP.
Most product images should use the JPEG format, as this can offer decent quality with relatively small file sizes. However, PNG is helpful for when you want transparent backgrounds, although files do tend to be larger.
One more modern alternative comes in the name of WebP. This allows for a file size that is much smaller without any loss in image quality. WebP images can be up to 34% smaller than JPEGs, meaning faster loading times. This is particularly important on mobile devices where speed is critical.
Ensure Responsive Design with Liquid Code
To ensure that your images look great and load properly on every device, you can use Shopify’s Liquid code to make responsive images.
You can leverage image_url tag and srcset attributes in your Liquid files to direct the browser to serve the correct image size based on the device’s screen resolution. This practice enhances user experience, especially for mobile shoppers, by reducing page load times.
Optimize for Speed and SEO
Last but not least, every variant image should include descriptive Alt text. This ALT text will not only make your images more accessible to people with a disability but also enable search engines to index your images correctly.
You can further enhance your SEO effort by inserting relevant keywords into alt text and in image filenames. For example, naming an image file “red-leather-jacket.jgp” is far better than naming it “IMG123.jgp.”
You can use bulk editing tools for image names, like Advanced Renamer, Bulk Rename Utility, or FileRenamer. Such tools support operations like add or replace text, case change, and number files.

FAQs
How Many Images Can Be Assigned to Each Variant?
Shopify by default allows only one image per variant and 100 variants per product. If you want to show many images for one variant, different angles, or details, you need to rely on third-party applications or custom coding.
How Can I Add Watermarks to Variant Images on Shopify?
Shopify itself does not support adding watermarks to variant images, but you can go through third-party apps. Some great options are Easy Watermarks, Bulk Image Edit, and Watermarkly.
Does Shopify Support 3D Models or Videos for Variant Images?
Currently, Shopify does not support the use of 3D models or videos directly as variant images. You can use only static image formats such as JPEG, PNG, or GIF for variants. But you can add a video or 3D model in the product’s main media gallery.
Can I Use Metafields to Assign Custom Variant Images?
Yes, Shopify does allow the use of metafields when assigning custom images to variants in those cases where default functionality is not enough. More importantly, you can leverage metafields to store additional images on the variant that you could then show dynamically on your storefront by writing custom code.
Bottom Line
That concludes our ultimate guide on how to add variant images on Shopify. Generally speaking, adding images to Shopify product variants is one of the surefire ways to enable a positive shopping experience for your customers. This not only helps customers see exactly what they are buying but also goes a long way in boosting appeal and conversion rates in your store.
Above all, hopefully, this guide on how to add variant images on Shopify has helped you get all the details about showing images for existing product variants in your Shopify store. For more Shopify tutorials, feel free to visit us at BSS Commerce for additional resources and insights.


