
The Newsletter function in Magento 1 allows you to follow the operation of the website. Administrators can send an e-mail notification to the users. But this function still has many limitations not meeting the essential needs, this is a reason why the site owner finds other management tools to improve the limitations.
The most popular tool is Mailchimp which seamlessly integrates with Magento 1 store, so you can use your customer data to personalize your marketing and grow your business.
First of all, you need to create a Mailchimp account, sign up here: https://login.mailchimp.com/signup/.
1. Direct sync via Embedded forms
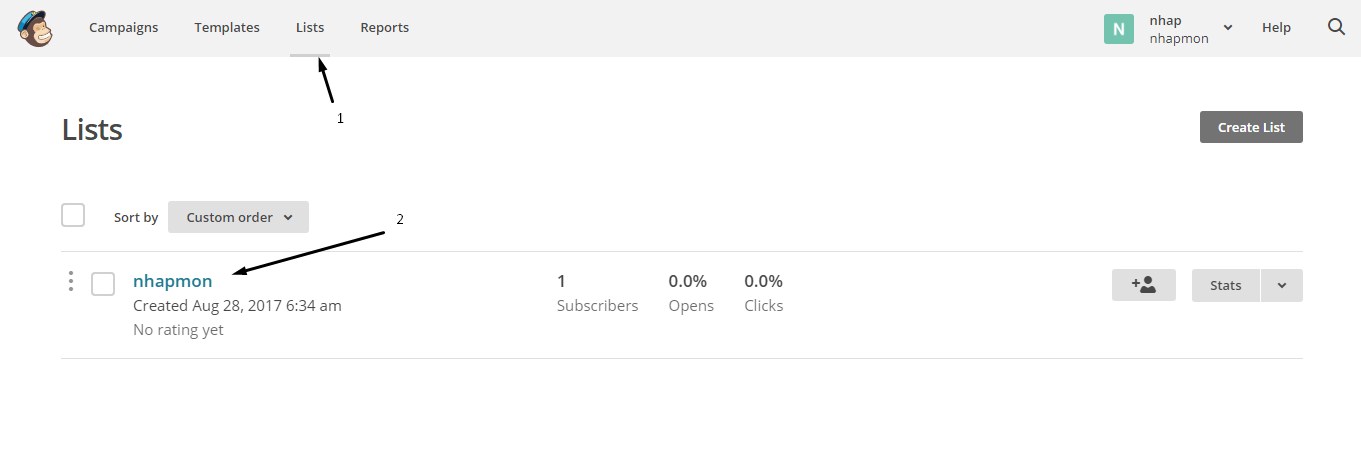
Log into Mailchimp. Select “Lists” which you want to choose.
Go to “Signup forms”, in “Embedded forms” click “Select”.

Here are some Mailchimp forms that we can use such as “Classic“, “Super Slim“, “Horizontal“, “Naked“, copy the codes in the “Copy/paste onto your site” area then paste into your website.
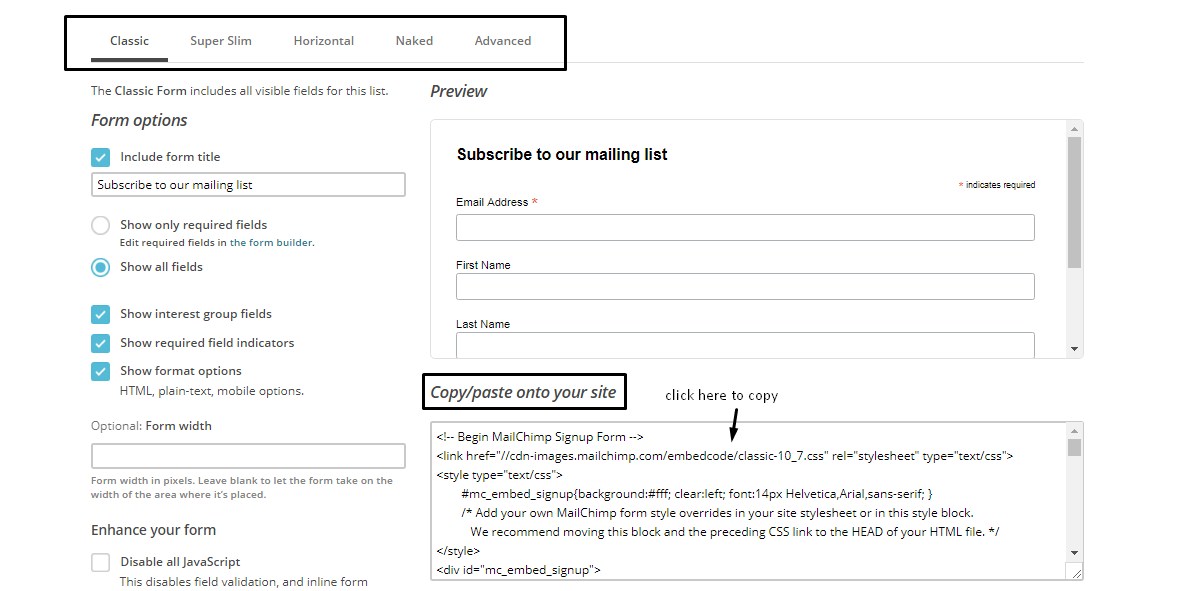
Example:
<link href="//cdn-images.mailchimp.com/embedcode/classic-10_7.css" rel="stylesheet" type="text/css">
<div id="mc_embed_signup">
<form action="//example.us16.list-manage.com/subscribe/post?u=16c2f4de407284d46ca761c01&id=401d14a2fd" method="post" id="mc-embedded-subscribe-form" name="mc-embedded-subscribe-form" class="validate" target="_blank" novalidate>
    <div id="mc_embed_signup_scroll">
	<h2>Subscribe to our mailing list</h2>
<div class="indicates-required"><span class="asterisk">*</span> indicates required</div>
<div class="mc-field-group"><label for="mce-EMAIL">Email Address  <span class="asterisk">*</span></label>
	<input type="email" value="" name="EMAIL" class="required email" id="mce-EMAIL">
</div>
	<div id="mce-responses" class="clear">
		<div class="response" id="mce-error-response" style="display:none"></div>
		<div class="response" id="mce-success-response" style="display:none"></div>
	</div>    <!-- real people should not fill this in and expect good things - do not remove this or risk form bot signups-->
    <div aria-hidden="true"><input type="text" name="b_16c2f4de407284d46ca761c01_401d14a2fd" tabindex="-1" value=""></div>
    <div class="clear"><input type="submit" value="Subscribe" name="subscribe" id="mc-embedded-subscribe" class="button"></div>
    </div>
</form>
</div>
<script type='text/javascript' src='//s3.amazonaws.com/downloads.mailchimp.com/js/mc-validate.js'></script><script type='text/javascript'>(function($) {window.fnames = new Array(); window.ftypes = new Array();fnames[0]='EMAIL';ftypes[0]='email';fnames[1]='FNAME';ftypes[1]='text';fnames[2]='LNAME';ftypes[2]='text';fnames[3]='BIRTHDAY';ftypes[3]='birthday';}(jQuery));var $mcj = jQuery.noConflict(true);</script>
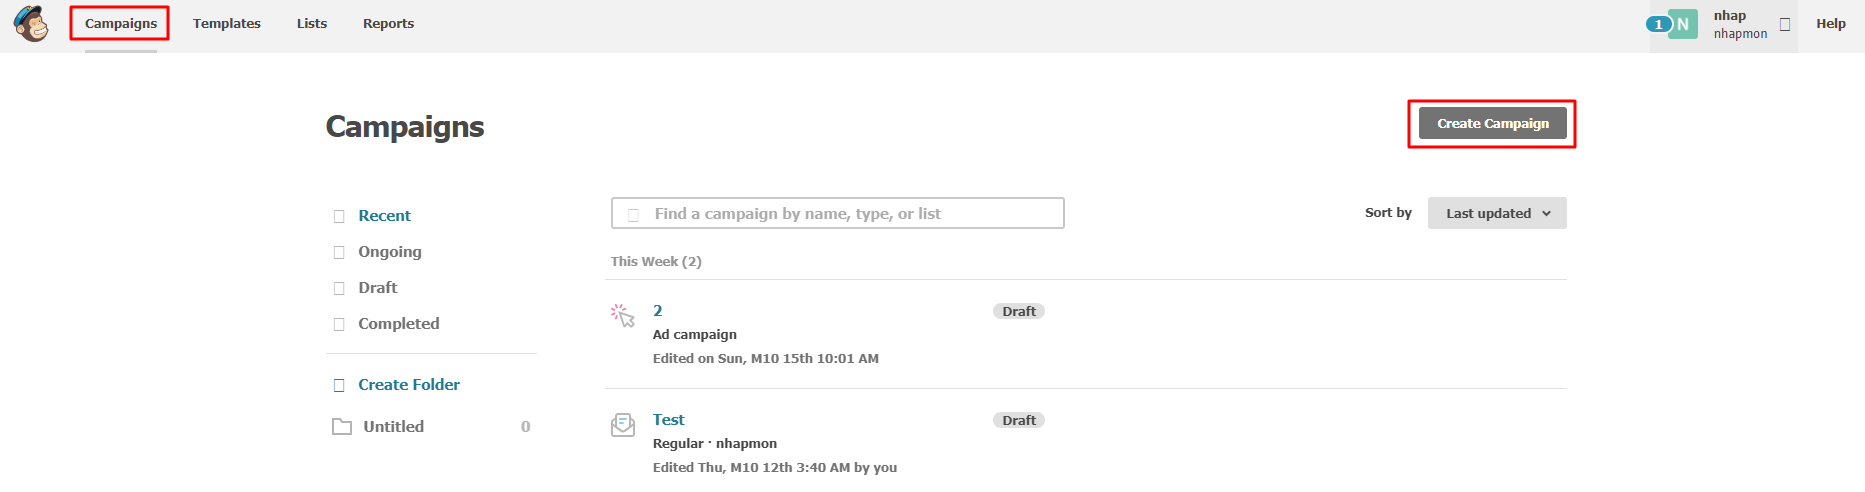
2. Sync through Magento Mailchimp extension
This Magento Mailchimp extension has been synced with the function Newsletters, so that users just need to subscribe to Newsletters then e-mail is automatically updated to the Mailchimp list.
Subcribe Newsletter.

Email auto list to Magento Mailchimp.

First, download the extension from the official Mailchimp at Magento Marketplace, install it on Magento and then configure your Mailchimp account information at the Magento backend: “Backend > system > configuration > Mailchimp”.
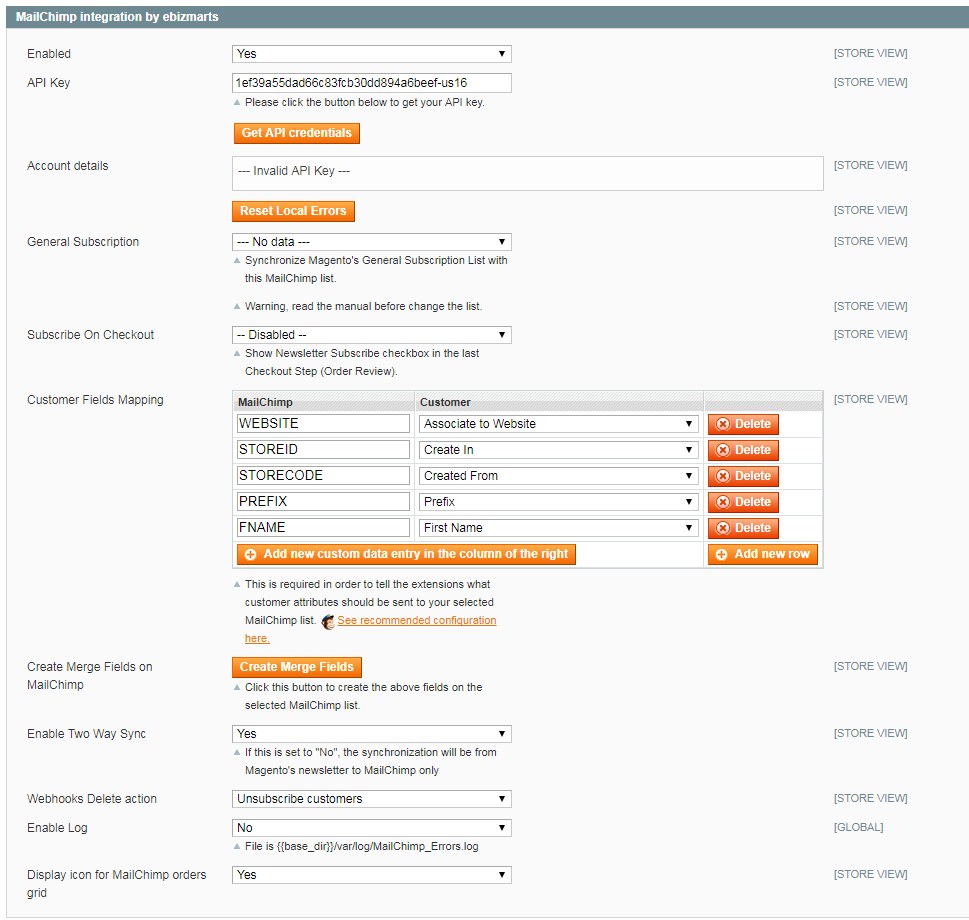
Here are some required configs for Magento Mailchimp:
- Enable: “Yes” to use the extension, “No” to disable.
- API Key: Here, you need to enter the correct Mailchimp account API key. Log into Mailchimp > Account profiles > Extras > API keys > Create a key, then copy the API key and paste into the API key in the backend of Magento, then save the config.
- Account details: This field displays your Mailchimp account information after successfully connecting Mailchimp via the API key.
- General Subscription: Select the Mailchimp list you want to sync with Magento.
Note: This Magento Mailchimp extension may conflict with other extensions related to the Newsletter function. So you need to check carefully again after installing the extensions, in order to ensure the function Newsletter and send an email of website run smoothly as well.
Config in Backend.
In addition, this extension has two additional functions are Ecommerce and Abandoned Cart:
Ecommerce: This Magento Mailchimp function allows Magento to sync only with paid accounts by Mailchimp. This function will automatically send emails to customer segments that you can customize according to the attributes installed in your Mailchimp account. Otherwise, you can add products and discount codes to emails sent.
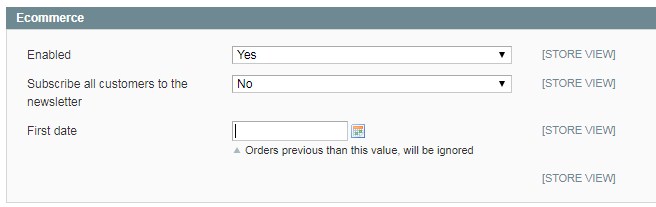
In which:
- Enable: “Yes” to use extension, “No” to disable.
- First date: Select the date for the function to start.
Config in Mailchimp account.
Example: A designed email is sent to the customer automatically.
Abandoned Cart: This function saves users who have added items to their shopping carts, haven’t yet ordered. First, we need config in Mailchimp account.
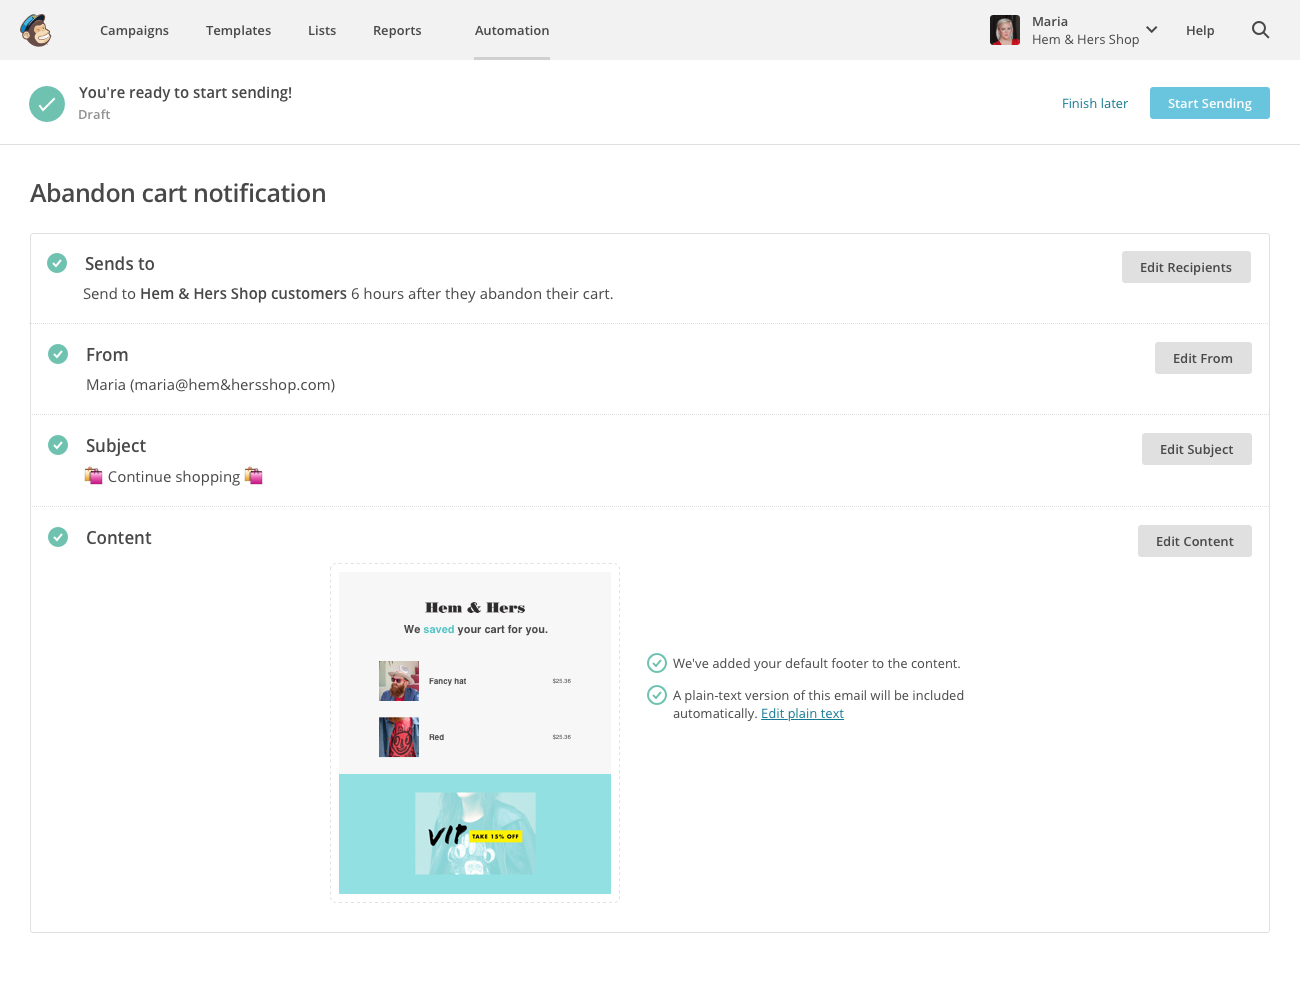
In which:
- Enable: “Yes” to use extension, “No” to disable.
- First date: Select the date for the function to start.
- Redirect Page: Redirect to the selected page.
Thanks for reading and I hope you would get so many helpful tips in this article!
BSS Commerce is one of the leading Magento extension providers and web development services in the world. With experienced and certified Magento developers, we commit to bring high-quality products and services to optimize our business effectively.
CONTACT NOW to let us know your problems. We are willing to support you every time.