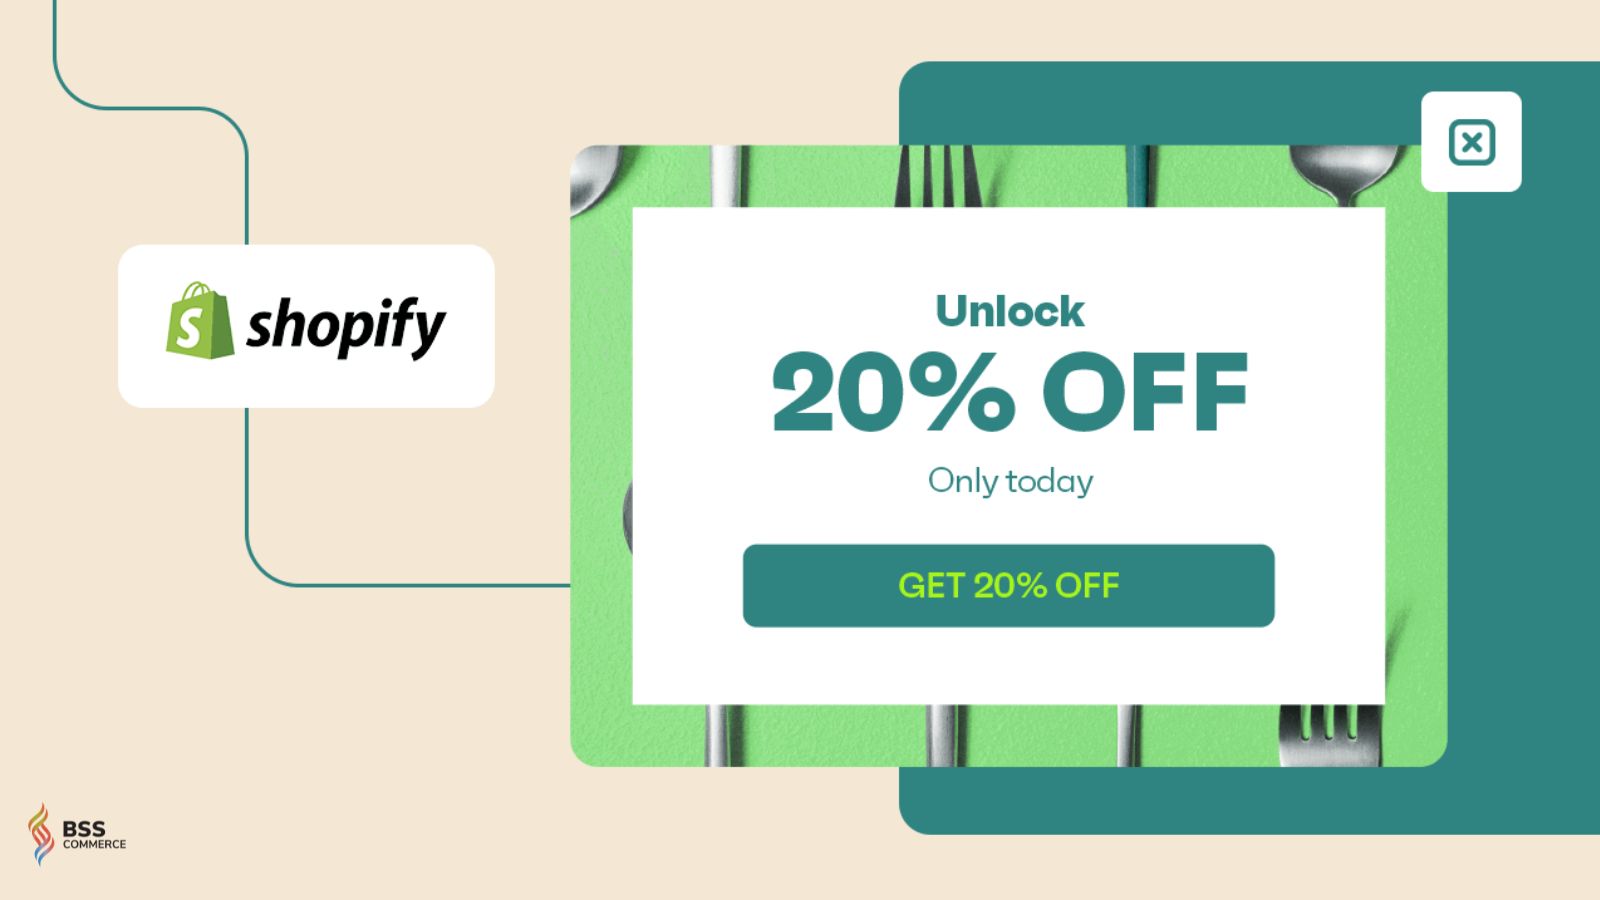
Despite on-going debate, popups remain a highly effective CRO solution for online shops. A recent study reports that such tools convert an average of 11.09% of visitors. Employing popups is not necessarily a complicated task. In this article, we will guide you on how to add a popup to Shopify store in different ways.
Contents
How to Add a Popup to Shopify: Step-by-Step Guide
First thing first, let’s get it clear on what a popup is. Essentially, in e-commerce, a popup is a window that appears on your website. Its ultimate purpose is to engage visitors and encourage them to take a specific action.
Popups come in many types, namely discount offer popups, lead capture popups, and exit-intent popups. The type you choose to add depends on your intent. This guide touches on creating a popup in general.
There are three common ways to create a popup in Shopify, as follows:
Option 1: Add Popup Using Shopify Forms
Shopify Forms is a free popup builder provided by Shopify. It is equipped with a range of features, such as customizable popups, email list integration, and even discount offers.
Considering its ease of use and ample feature set, we highly recommend Shopify Forms for those who want a quick and budget-friendly solution. If you simply look to create simple popups like email sign-up forms, consider this option.
Here’s how to add a popup to Shopify with Shopify Forms:
1. Install Shopify Forms
In your Shopify admin, go to Apps. Then, look up Shopify Forms > Install.

The app will appear right below the Apps section in the left side bar.
2. Create A New Popup Form
Go to the app and choose Create form. Select Popup as the form type.

Fill in the form name in the Form name field. For example, we name it “Email Signup Popup“.
Once finished, click on Create to move to the next step.
3. Configure the Popup Form
Here, you will customize the popup. The areas of customization include form display, teaser settings, and post-submission message.
3.1. Form Display: This step determines how the form looks within your store. There are two options:
- Floating: Choose this if you want the teaser and form to appear as a floating section on your storefront.
- Overlay: Choose this if you prefer the form to appear in the middle of the page with an overlay color applied to the rest of the storefront.

Suppose you select the Overlay option. Now, you can pick the overlay color and adjust the opacity by clicking on the Overlay Color text.
3.2. Teaser: This is a small preview of a full popup. You can customize settings such as when the teaser is shown, its position, title text, and other teaser content.
Here are the options in the Show drop-down menu:
- First (before the form): The teaser is located on top of the form.
- First (before the form) and if the customer closes the form: The teaser section appears before the form and when the customer closes the form.
- If the customer closes the form without subscribing: Displays the teaser section if the customer closes the form without completing it.
- Never: The teaser will be hidden from all customers. If one closes the form, they will not be able to access it in any way.
Move on Position on your store drop-down menu; select the position you prefer.
Next is the Title field. Here, you fill in the title of the teaser. Remember, the text limit is within the 50 characters.

Then we have the Content textbox for adding supplement information. Such content will show up right below the teaser title.
Fields is for collecting customers’ information. When visitors fill in such fields, the info will be sent to us.
The number of fields needed to create will depend on the type of popup form. For example, we are building an email signup form. Thus, we add two fields: First Name and Email address.
The Button label is essentially a call-to-action button. What do you want the visitor to do after filling out your popup? Try to keep it straightforward, simple, and less than 25 characters.
Now the Consent disclaimer. If your form requires explicit consent to comply with regulations like the General Data Protection Regulation (GDPR), feel free to bring it up. If not, you can skip this field.
Once complete, you can click on Preview to see how the teaser looks on the store.
3.3. Success: In this section, you can set up the post-submission message. Visitors will see it once they successfully submit the form. Similar to the Teaser settings, you can modify the Title and include supplement text in the Content textbox.

There is also an option to offer a discount code. To do this, click on Select a discount and choose an existing code in the dropdown menu. Customers will be able to claim this upon form submission.
4. Set Up The Popup Behavior and Trigger
Now that you have completed tailoring a basic popup email, it’s time to decide on the devices, pages, and triggers for the form. Such settings can be configured in the Behavior section, under the Devices, Pages, and Trigger.
Devices: You can click on the drop-down menu and choose one of the three options: all devices, only on desktop, or only on mobile devices.
Pages: Determine whether you want to display the form across all pages or on specific pages only.
Trigger: This is about timing; when the form should appear to shoppers. Options include displaying the form on the first, second, or third page view, either immediately or after a delay.

There is also a checkbox for exit intent, which is accessible on desktop devices. This way, the form will pop up when visitors try to leave your site.
5. Integrate with Automations
Shopify has this special tool that lets you connect your form to existing marketing automations or workflows. To begin with, install the Shopify Flow app. Then follow the provided instructions to set up.
6. Activate the Form
That’s all about how to add a popup to Shopify using Shopify Forms. If you have done all the settings, you can now click the Save button. The form will go live within a few seconds.
You may need: Which Is The Best Pop Up App for Shopify
Option 2: Create A Popup in Shopify with Third-Party Apps
Using third-party popup tools is another way to create a popup in Shopify. Compared to the first option, this method is more comprehensive and flexible while letting you create pop-ups at ease.
One thing about popup apps is that they have wider popup types. Alongside is a more advanced feature set with analytics tools. Such perks make them ideal tools for optimizing conversion rates.
However, most of them come at a price. It might not be budget-friendly for some sellers.
To integrate a third-party popup app into your Shopify store, follow these steps:
- Go to the Shopify App Store
- Search for a popup app and click “Install“.
- Open the app in Shopify admin and follow setup instructions.
- Set display rules for when and where the popup should appear.
- Save & publish the popup.
Following are the top-rated Shopify popup apps to date:
- BSS: Sale Banner & Pop-up: Customizable banners & pop-ups, countdown timers, promo & sale banners.
- EcomSend Pop Ups: Email & SMS pop-ups for lead capture, built for Shopify.
- Pop Convert: Announcement bars, banners, countdown timers, easy setup.
Option 3: Add Custom Code Manually
How this option works is that you directly build the popup form within Shopify admin. On the good side, you get to control the entire process. From the design to functionality, everything is up to you.
However, it’s inevitable to avoid issues when it comes to manual work. So, a solid coding foundation is a must.
Here’s how to add a popup to Shopify by adding code:
- Go to Shopify Admin > Online Store.
- Choose Themes > Actions > Edit Code.
- Create a snippet under the Snippets folder. Name it popup.
- Paste your HTML, CSS, and JavaScript code.
- Insert {% include ‘popup’ %} into theme.liquid or the desired template.
- Customize the popup design and behavior with CSS & JavaScript.
- Save & preview your store.
Shopify Popup: Best Practices
So far, we have introduced you to three common ways to create a popup in Shopify. Below are some helpful tips and tricks for popup creation.
- Design consistency: Ensure the popup aligns with your store’s branding in terms of colors, fonts, and imagery.
- Clear messaging: Communicate the value proposition succinctly and ensure the CTA is compelling.
- Timing and frequency: Avoid overwhelming users by setting appropriate triggers and limiting the frequency of popup displays.
- Mobile optimization: Design popups to be responsive and user-friendly on mobile devices.
- Compliance: Ensure popups comply with regulations like GDPR by including necessary consent checkboxes and privacy information.
FAQs
1. Do popups negatively impact the user experience?
Popups can be effective but may frustrate users if misused. One should implement them thoughtfully.
2. Are popups bad for SEO?
Generally, popups don’t harm SEO if they’re user-friendly. But intrusive popups, especially on mobile devices, can lead to penalties.
3. Can I add a popup without an app?
Yes, by adding manual code. But for most users, using a dedicated app is simpler.
4. How do I add a discount pop-up Shopify?
Start by installing a popup app from the Shopify App Store. Then design your discount offer and set it to display under your chosen conditions. Many apps offer premade templates for this.
5. What are the best popup apps for Shopify?
Some top-rated options are BSS Sale Banner, Sales, Popups, EcomSend, Pop Convert, and Squirai. All of these are easy to set up and available on the App Store.
Bottom Line
That concludes our ultimate guide on how to add a popup to Shopify store, along with some insights into how to create an effective popup. Hopefully you find it helpful and clear enough to build one on your own. For more useful Shopify tutorials, feel free to visit us at BSS Commerce.